Transform your car's audio system with powerful amplifiers. Explore our expert tips and top recommendations to elevate your sound experience on the road.
Save 14%
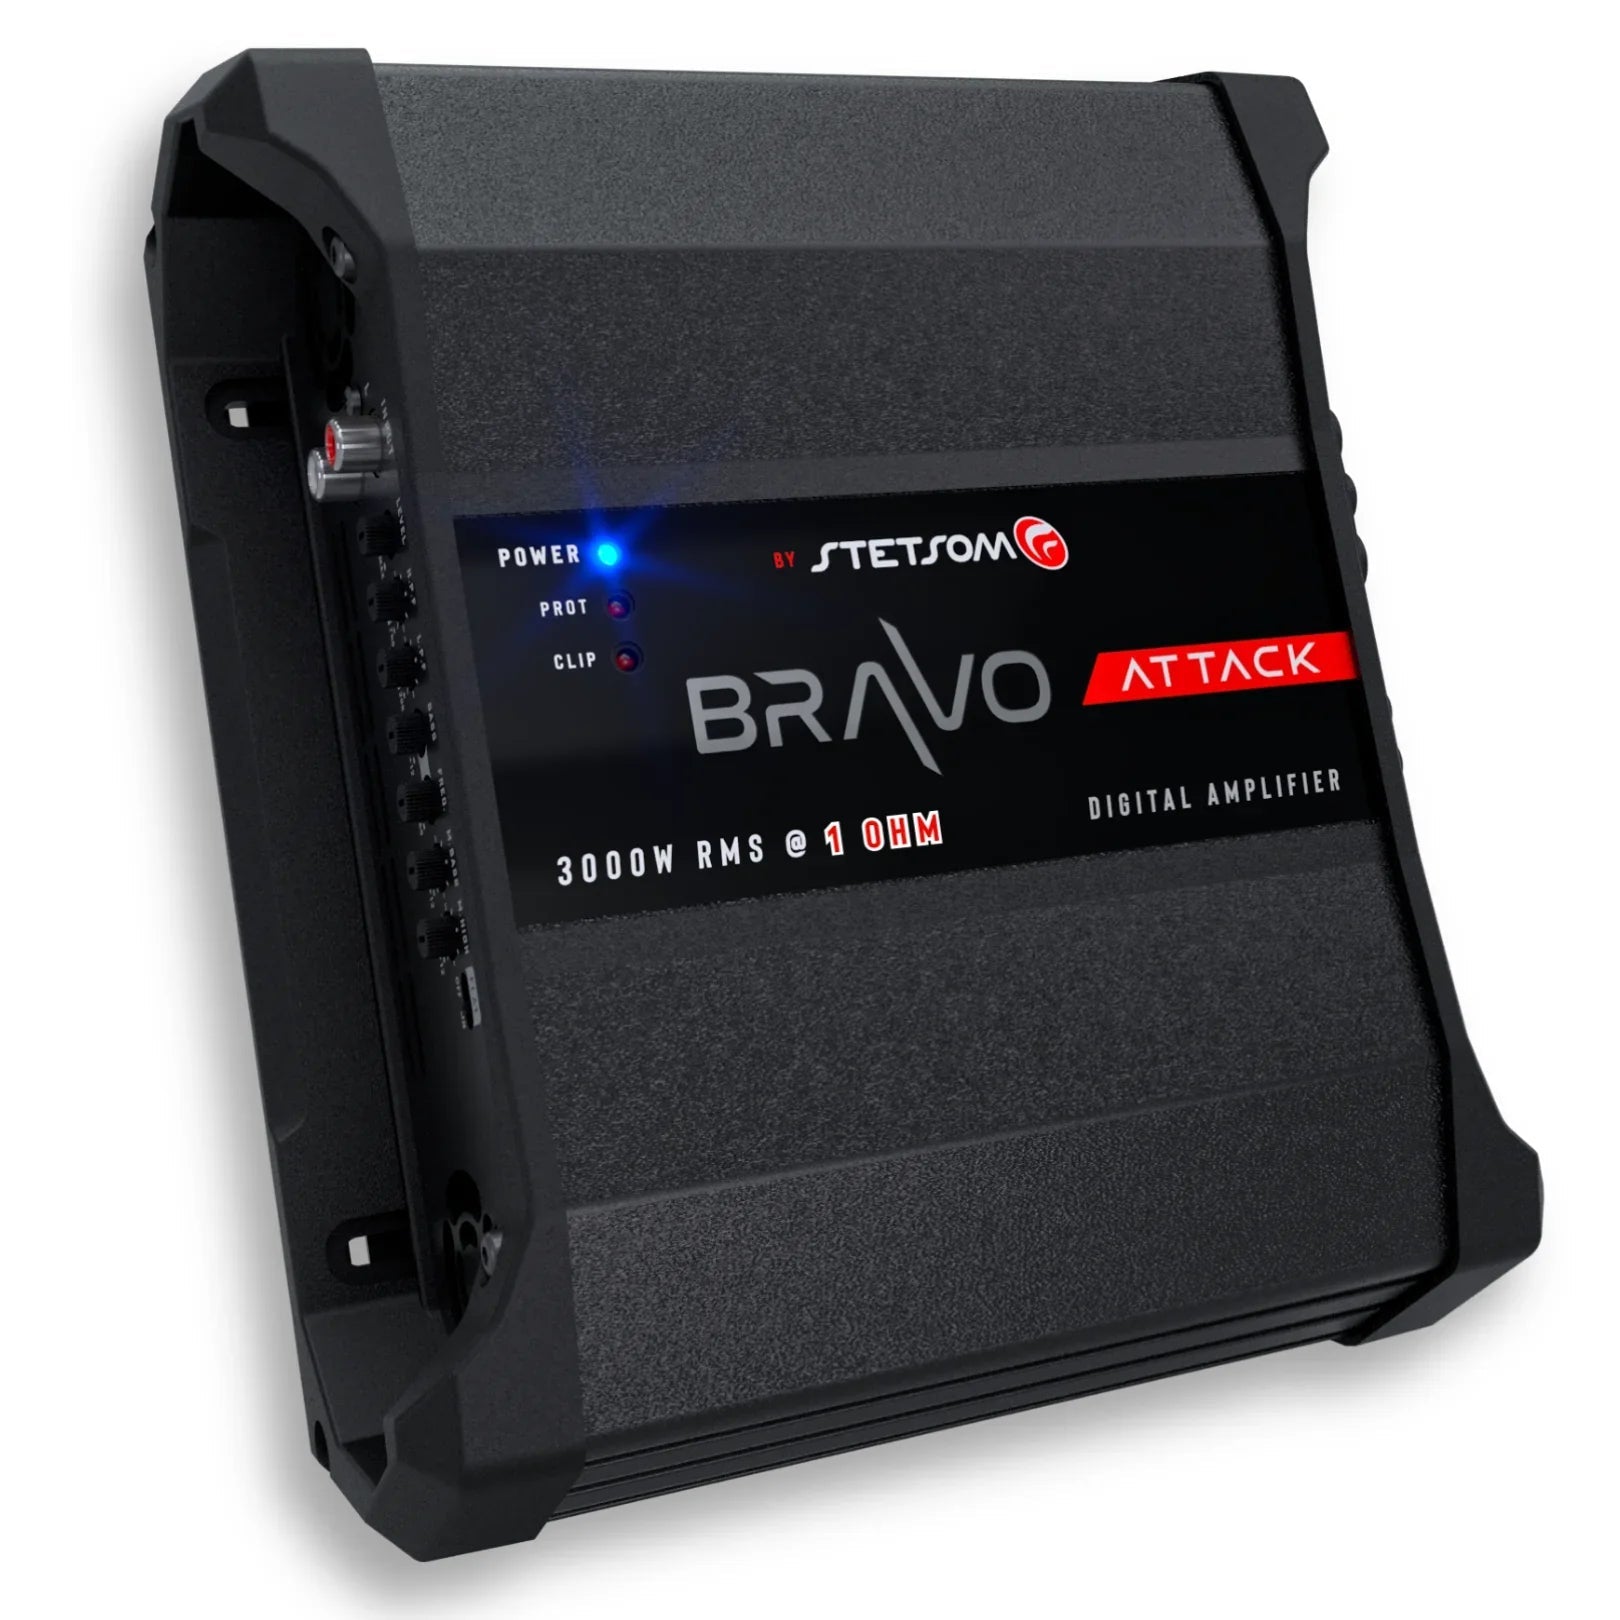
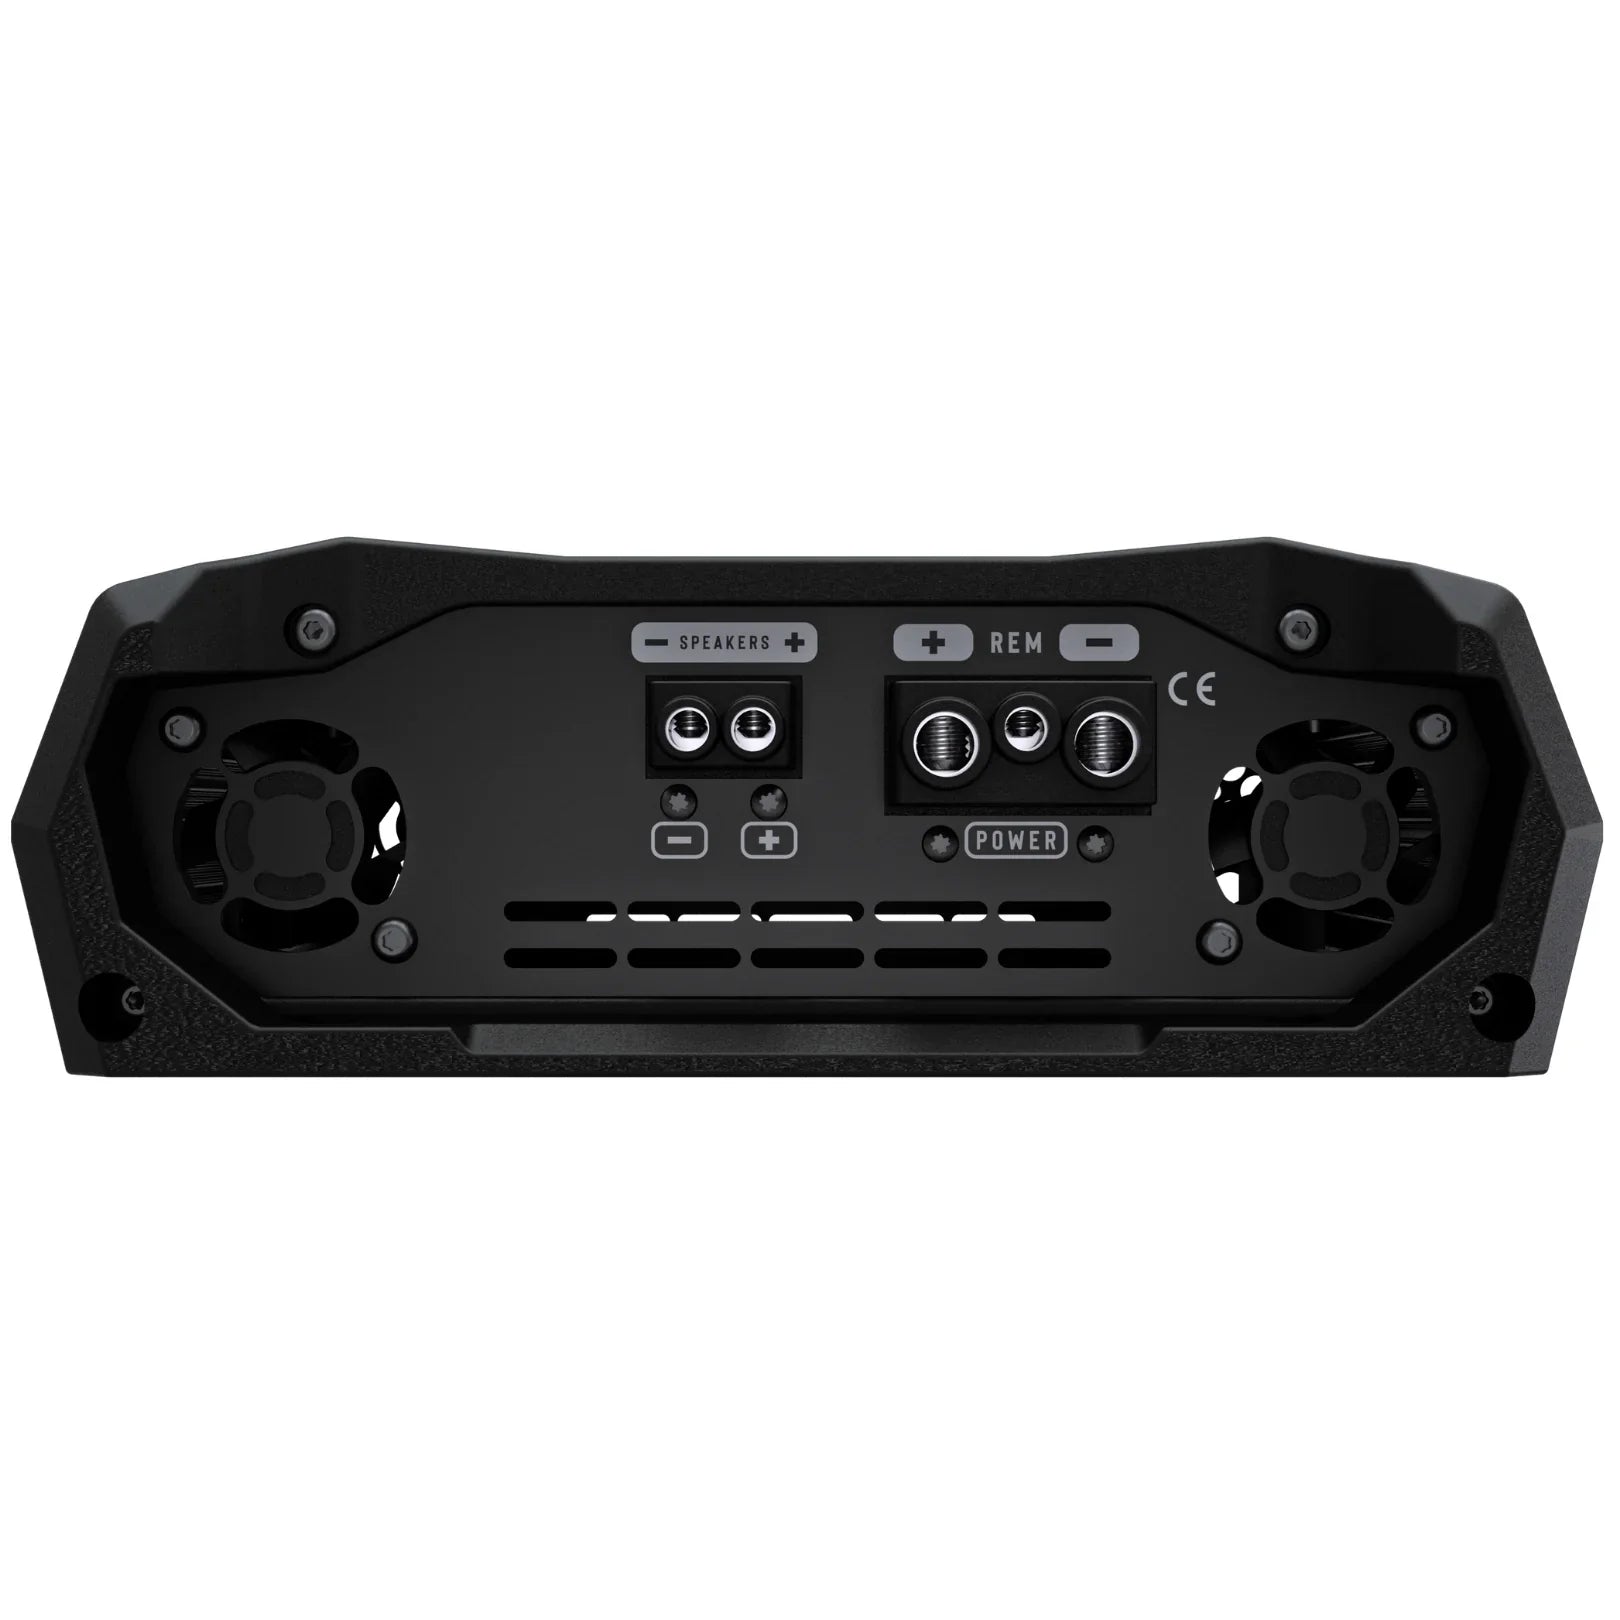
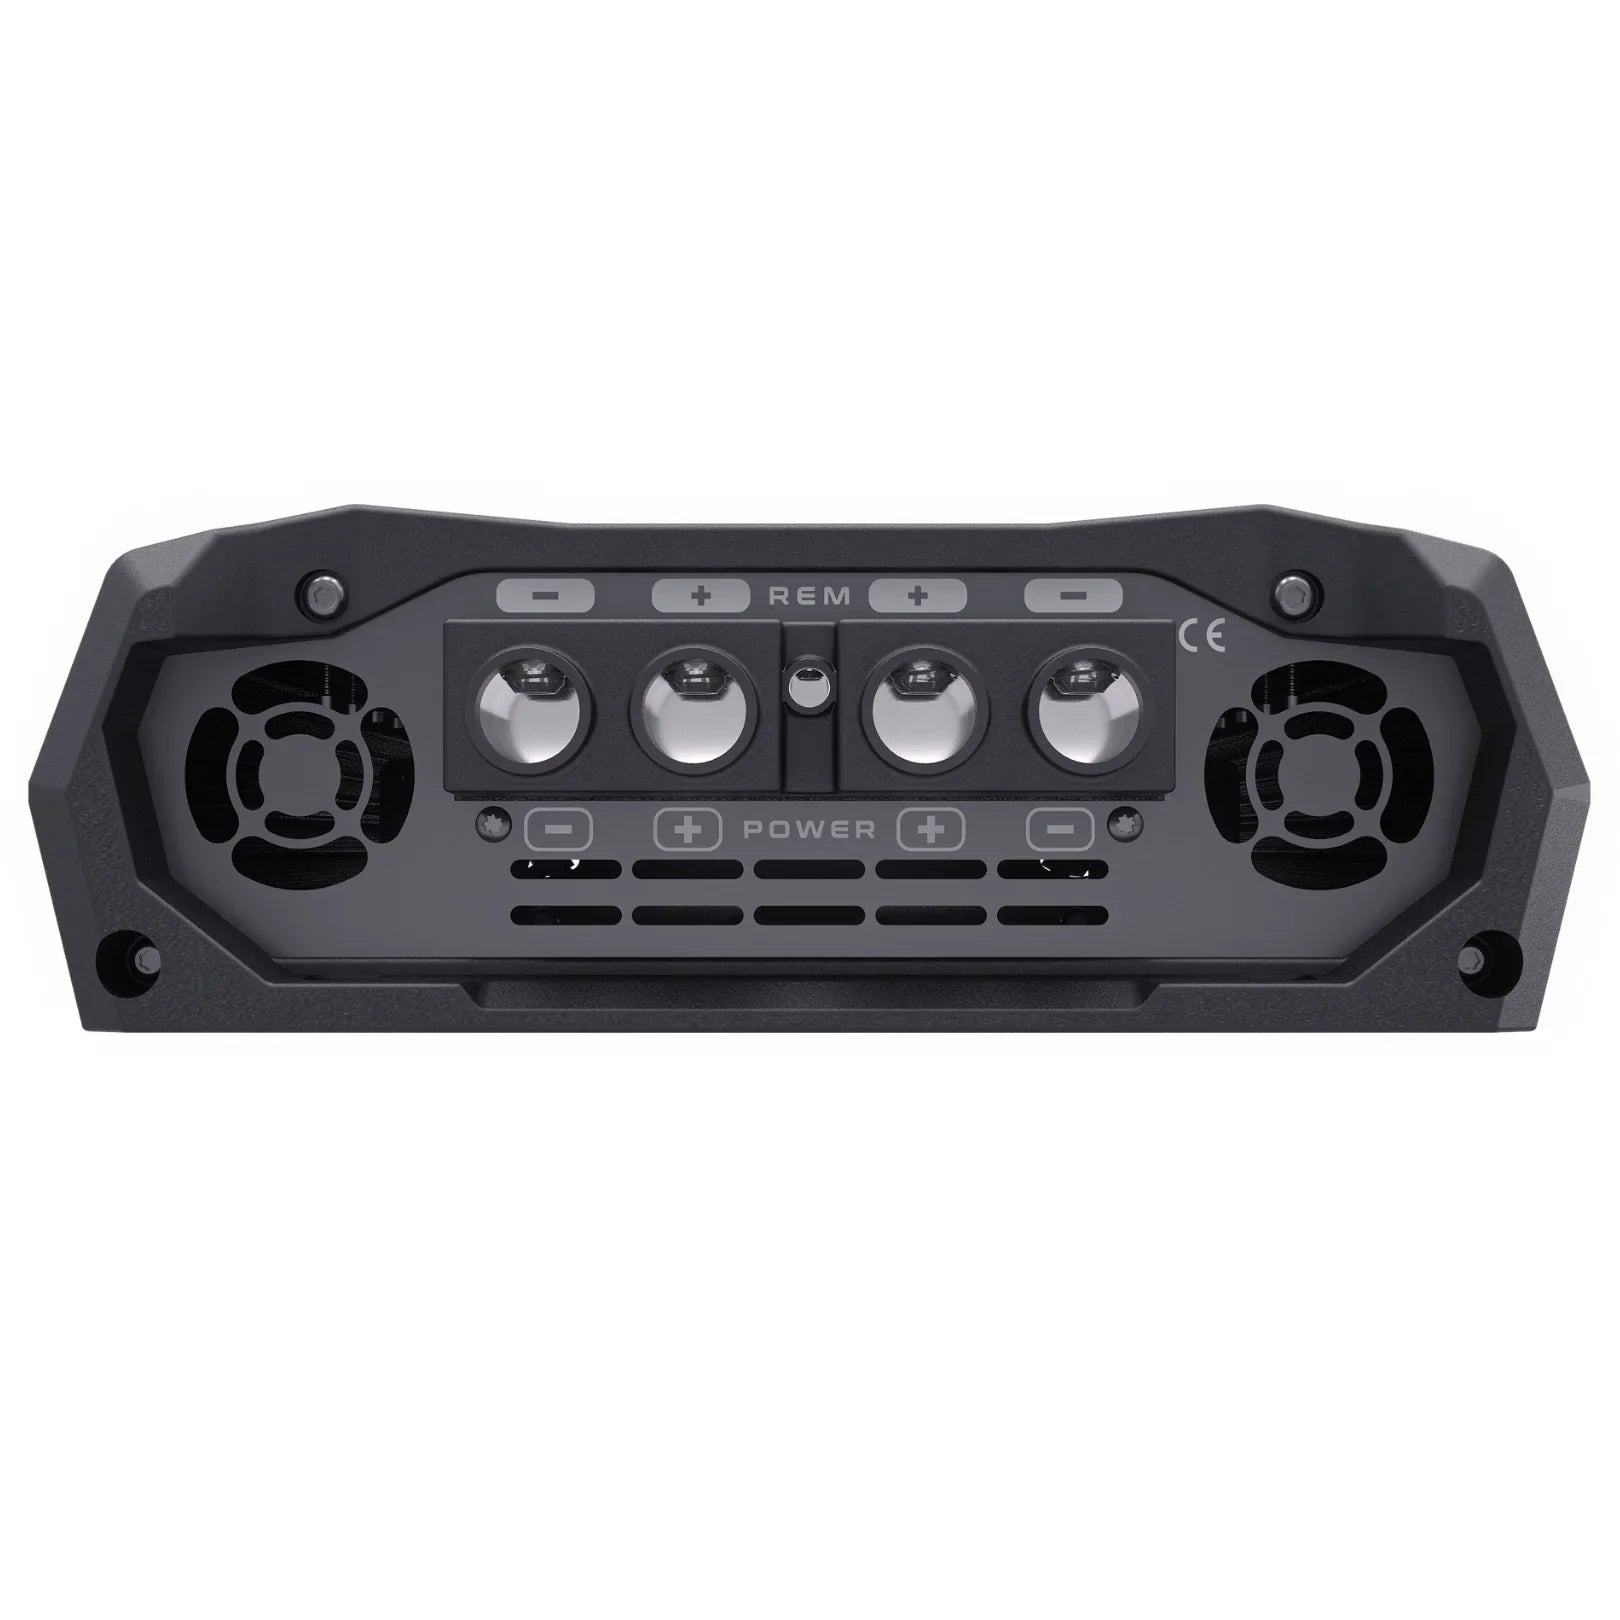
Stetsom BRAVO ATTACK 3000 W Mono One-Channel Full Range Digital Amplifier 1 Ohm
Sale price$208.99
Regular price$241.99
Save 13%
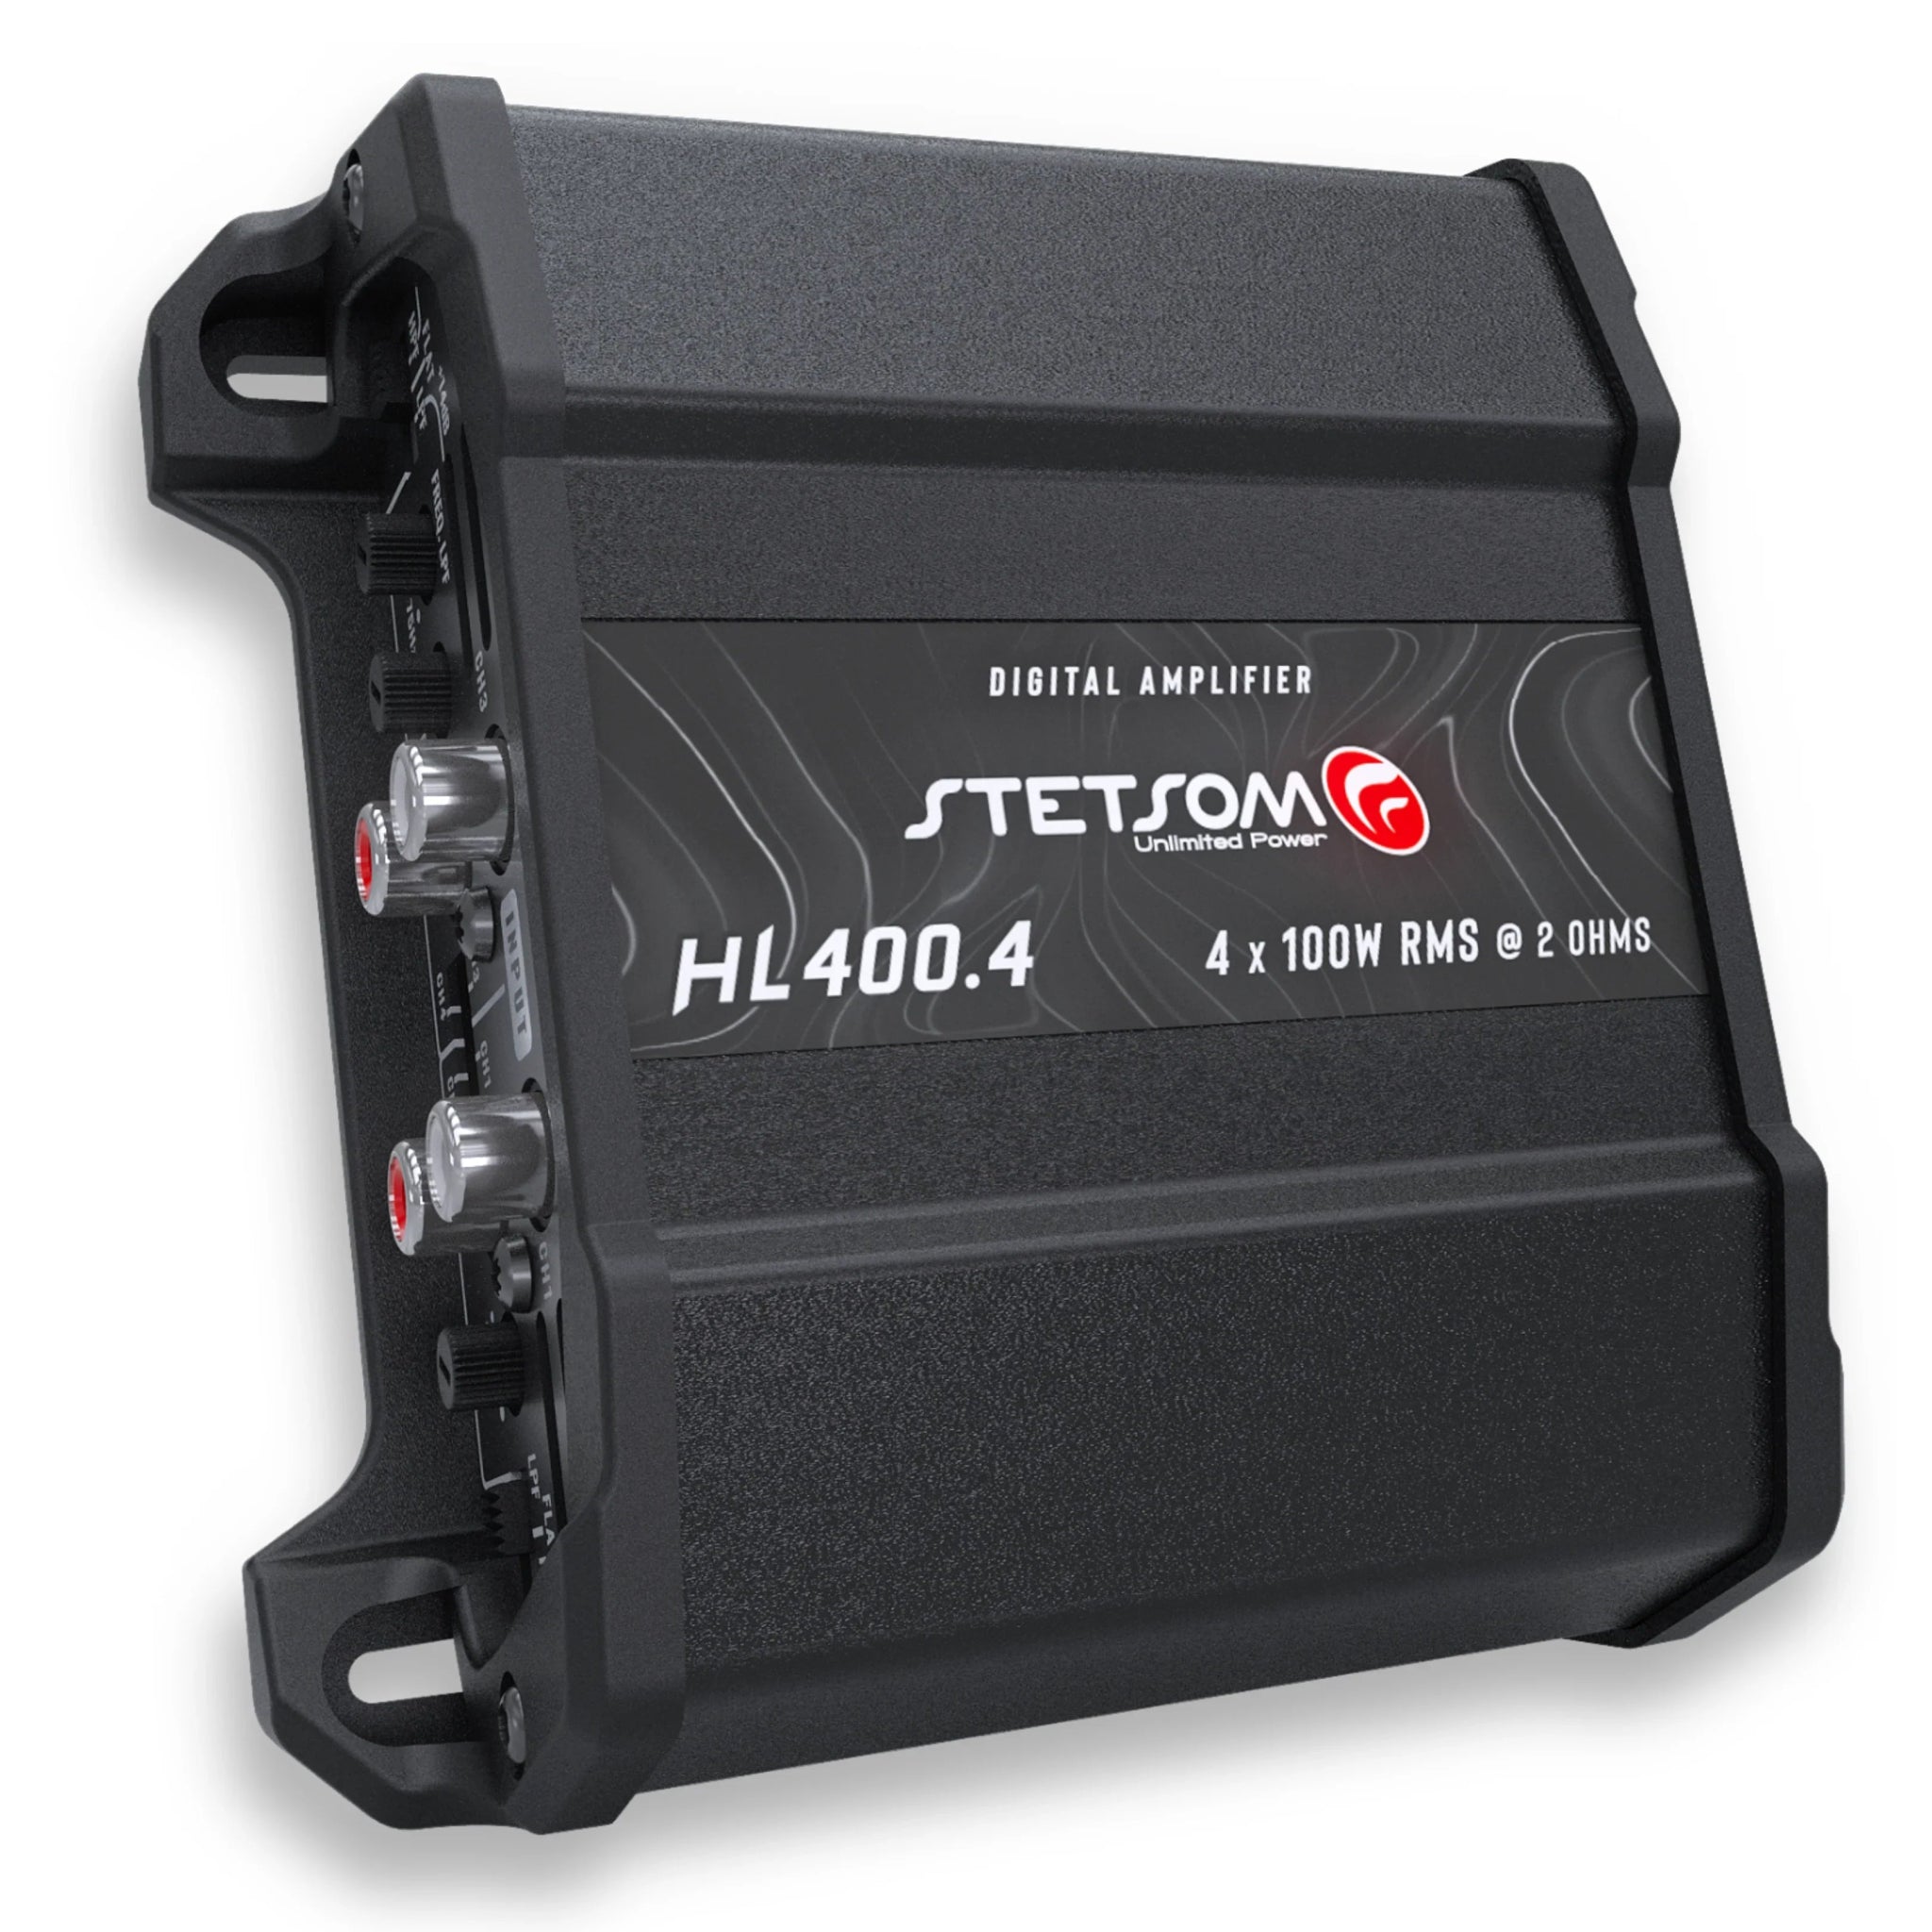
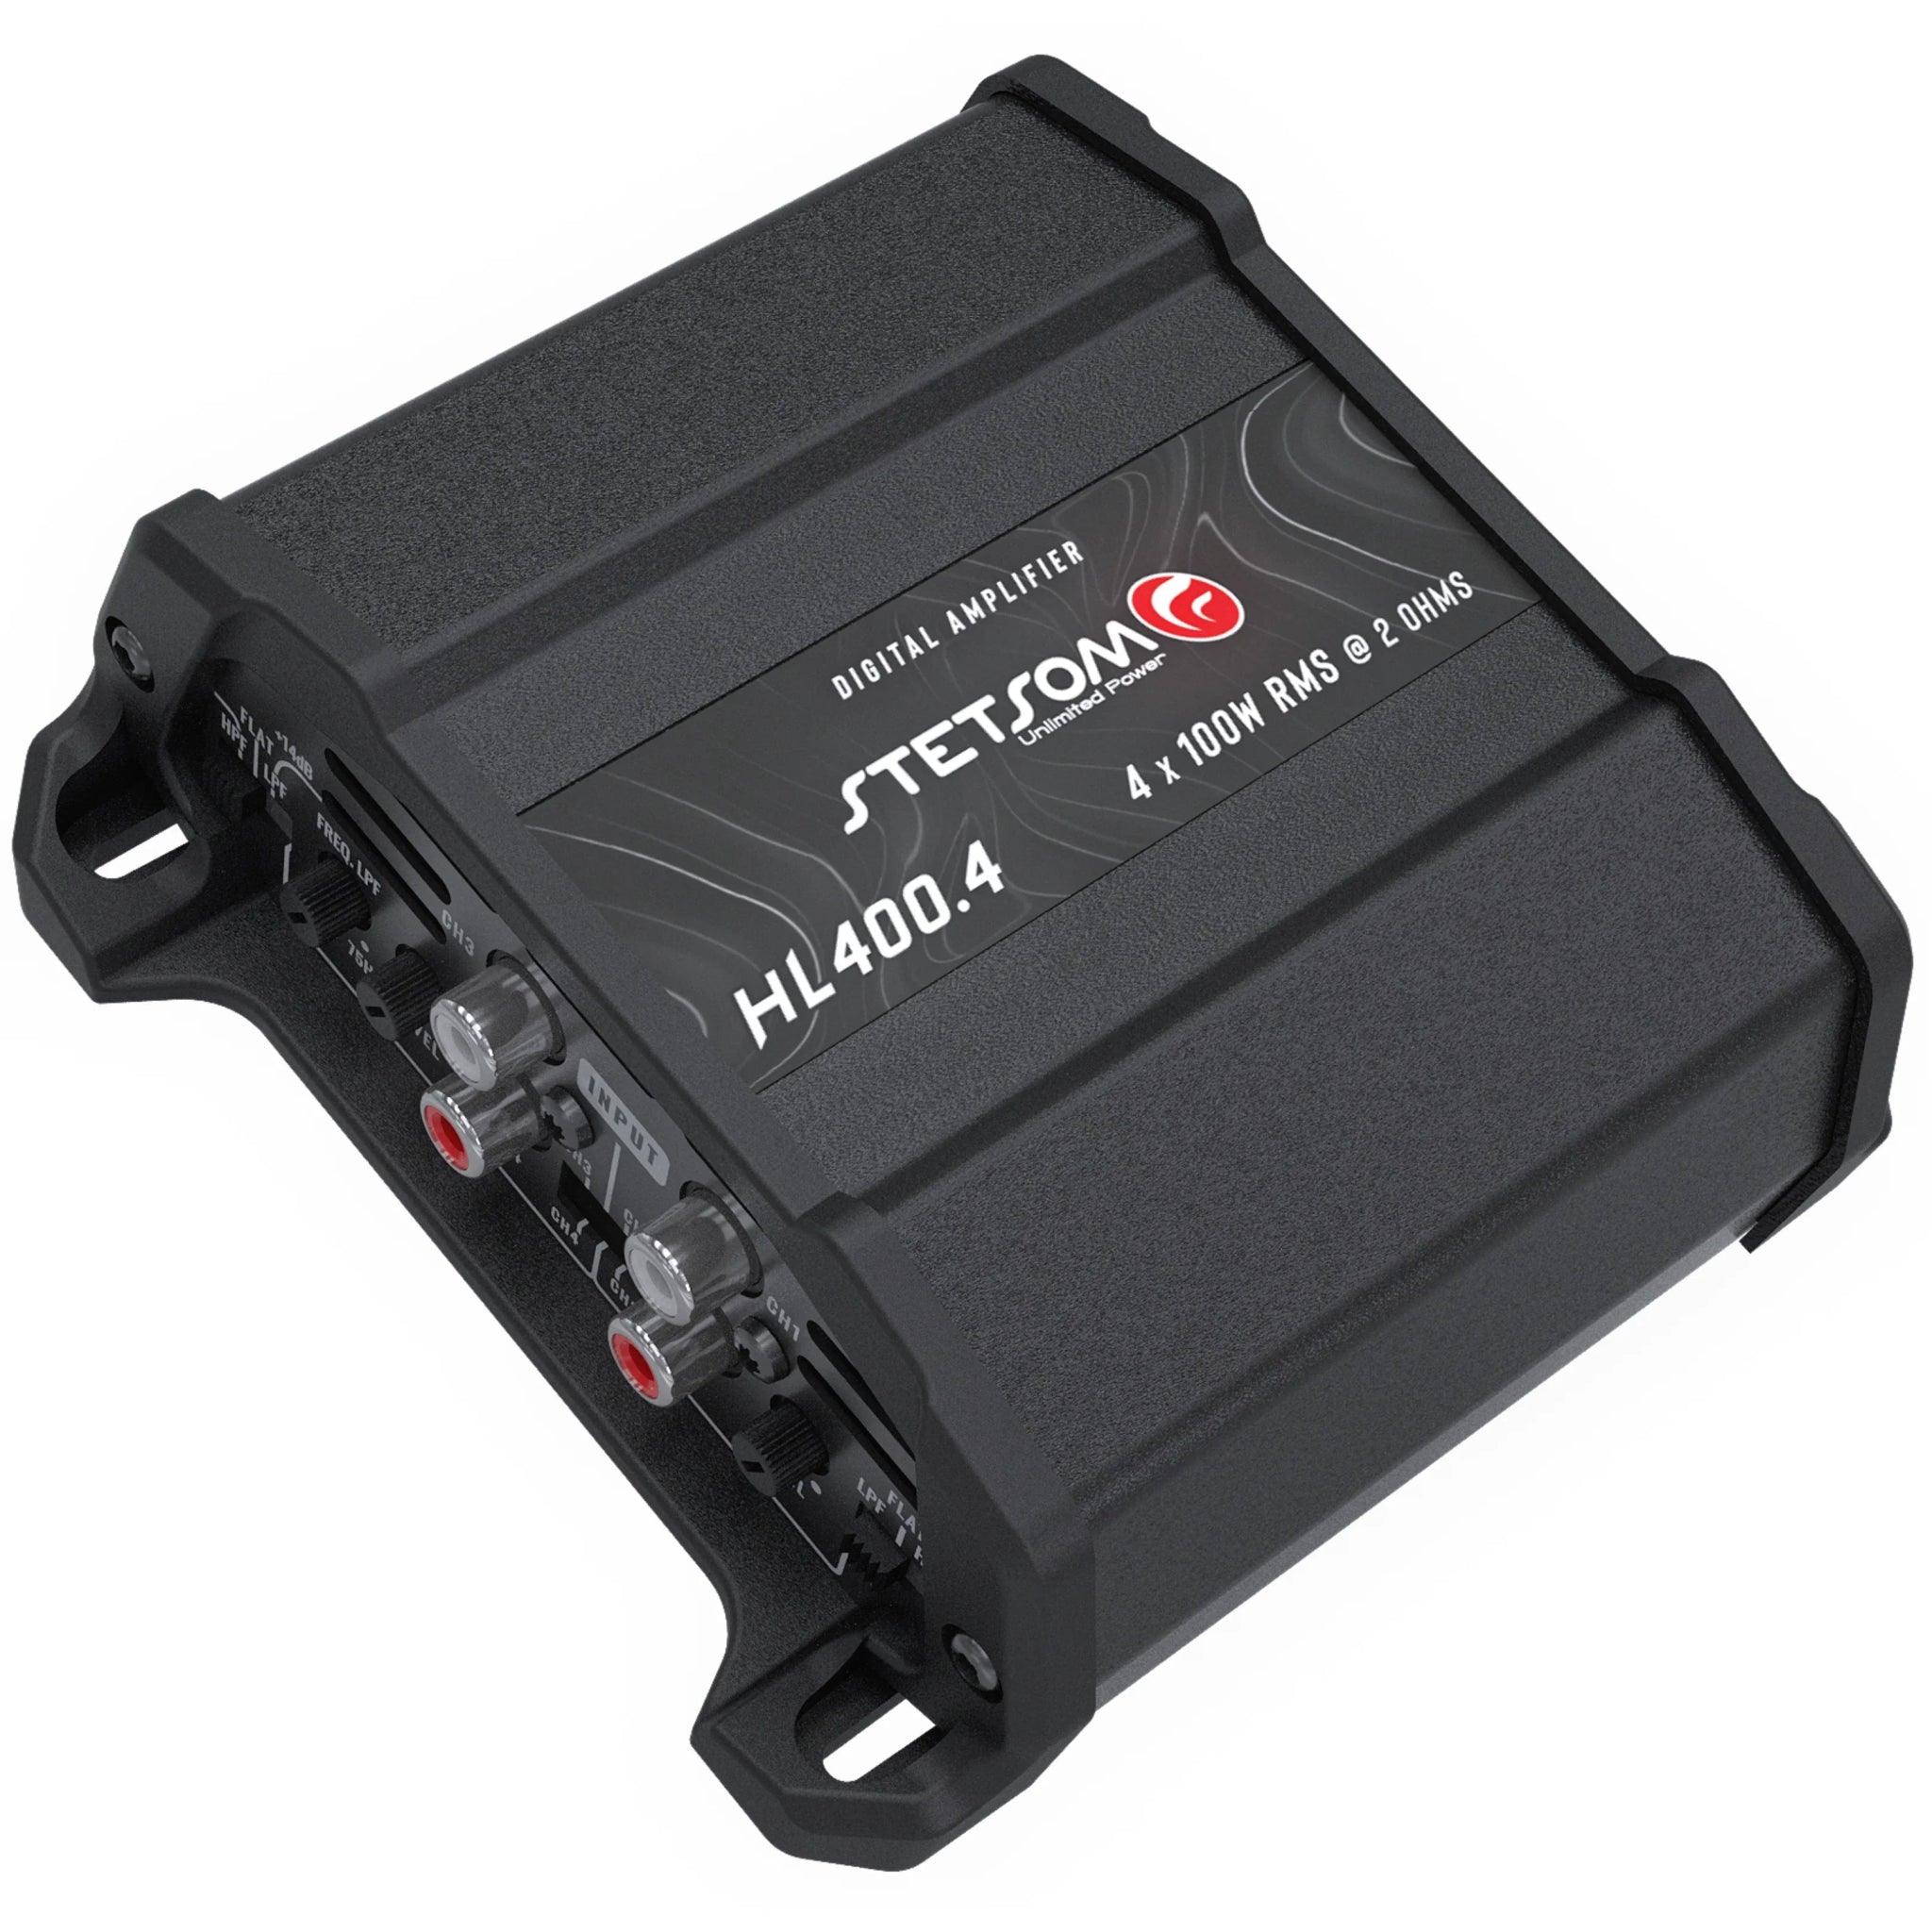
Stetsom High Line HL-400.4 Digital Amplifier 400 W Class D Full-Range Four-Channel 2 Ohm
Sale price$89.99
Regular price$103.99
Save 13%
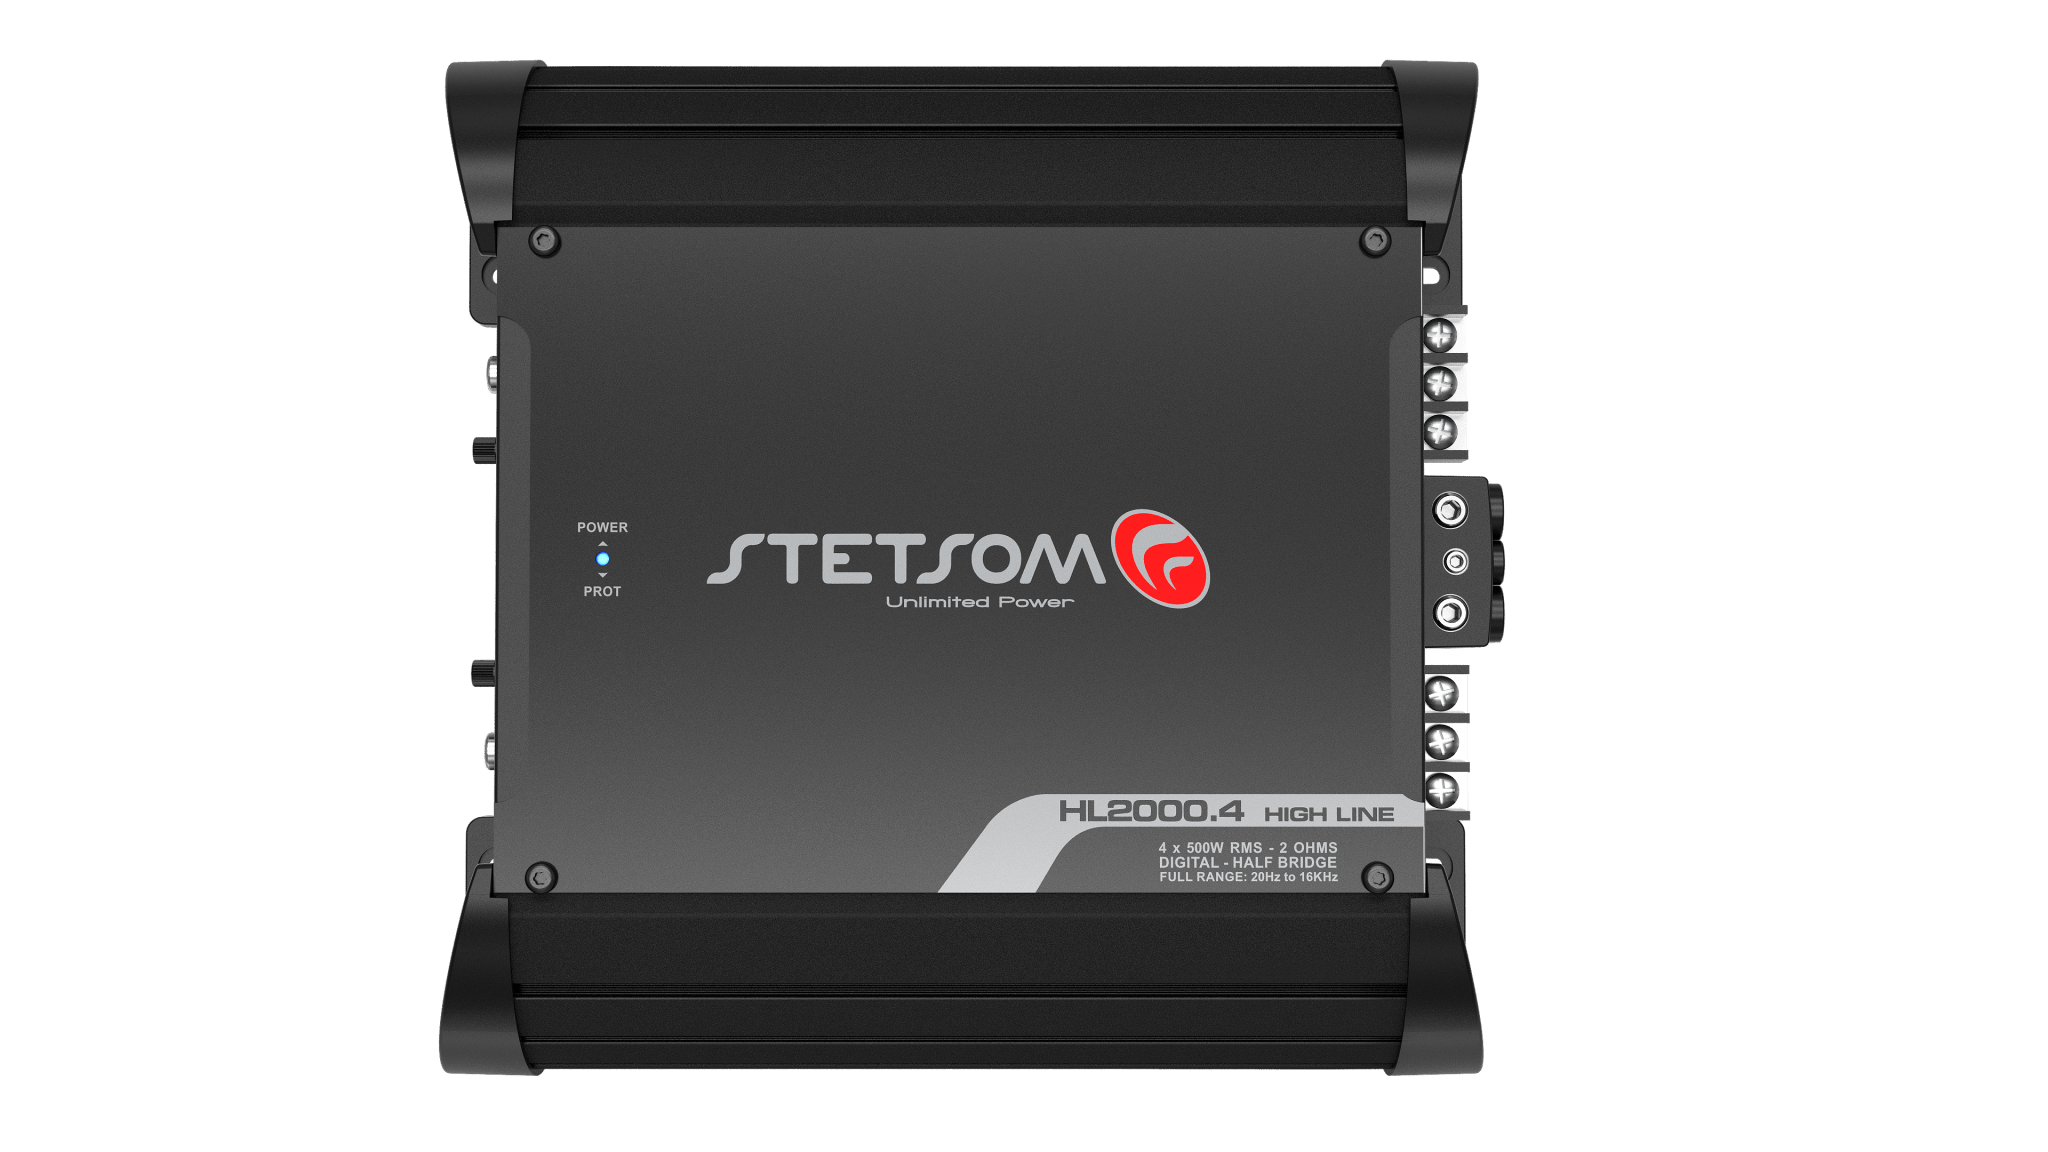

Stetsom High Line HL-2000.4 Digital Amplifier 2000W Class D Full-Range Four-Channel 2 Ohm
Sale price$298.99
Regular price$343.99
Save 13%
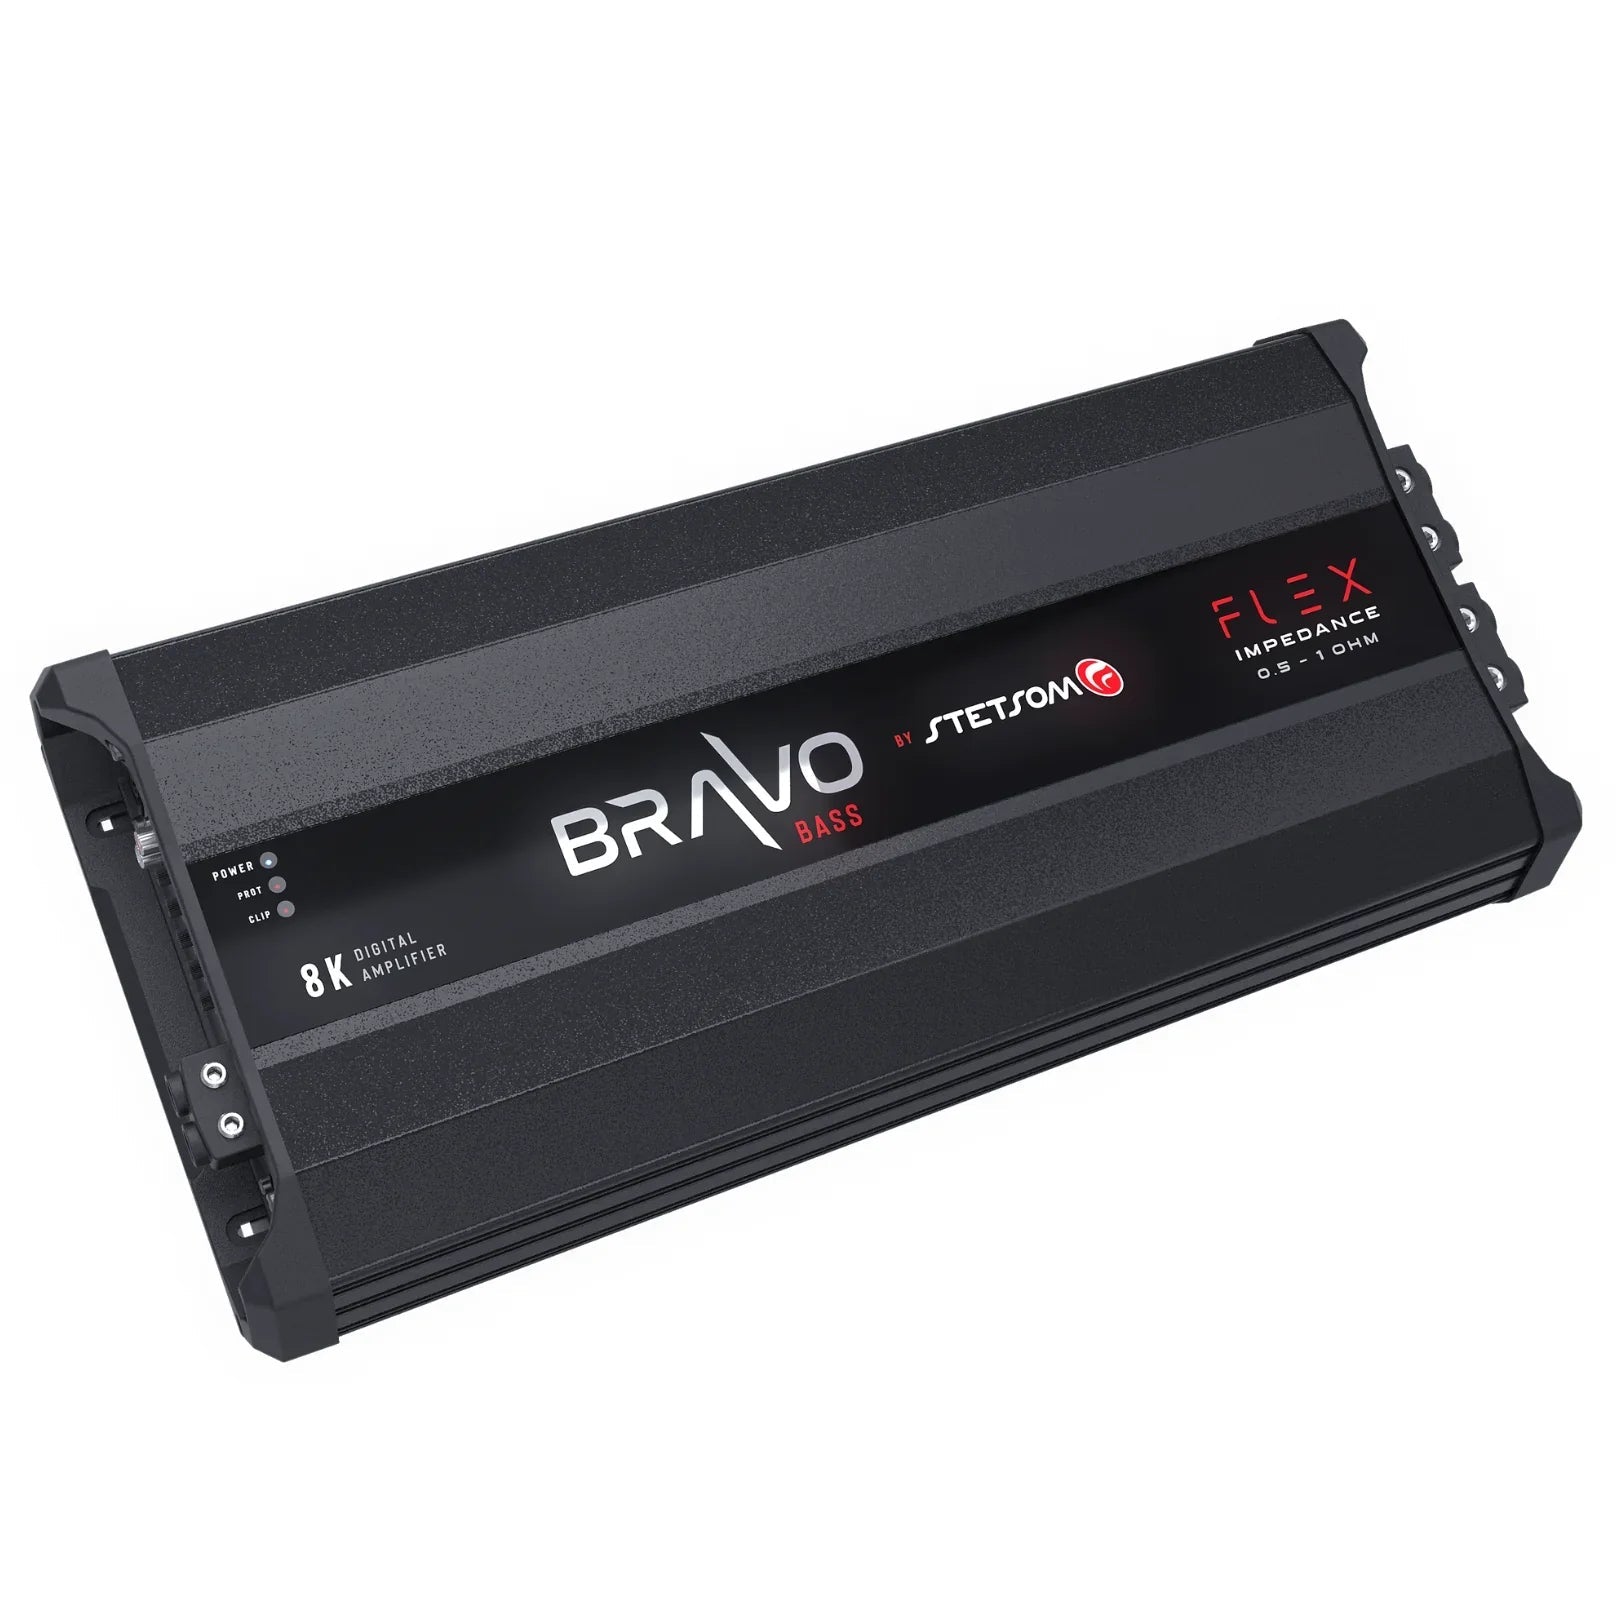
Stetsom BRAVO BASS Flex 8K Mono Class D Amplifier 8000 W Automatic Impedance System 0.5 Ohm to 2 Ohm
Sale price$679.99
Regular price$781.99
Save 13%
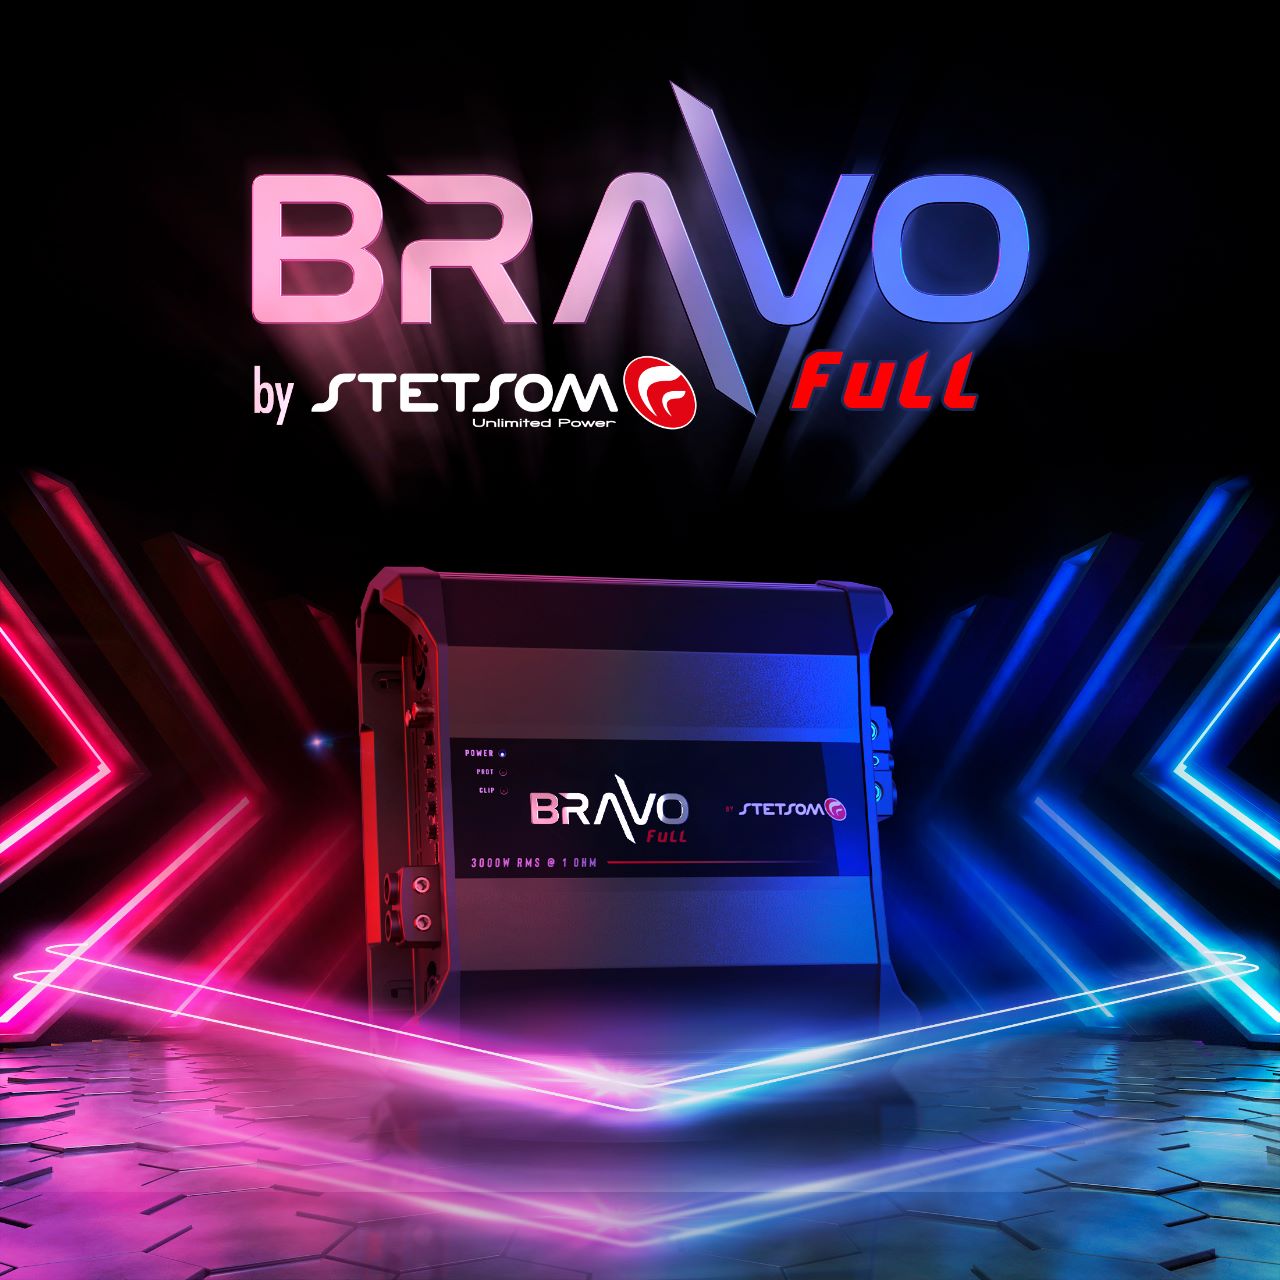
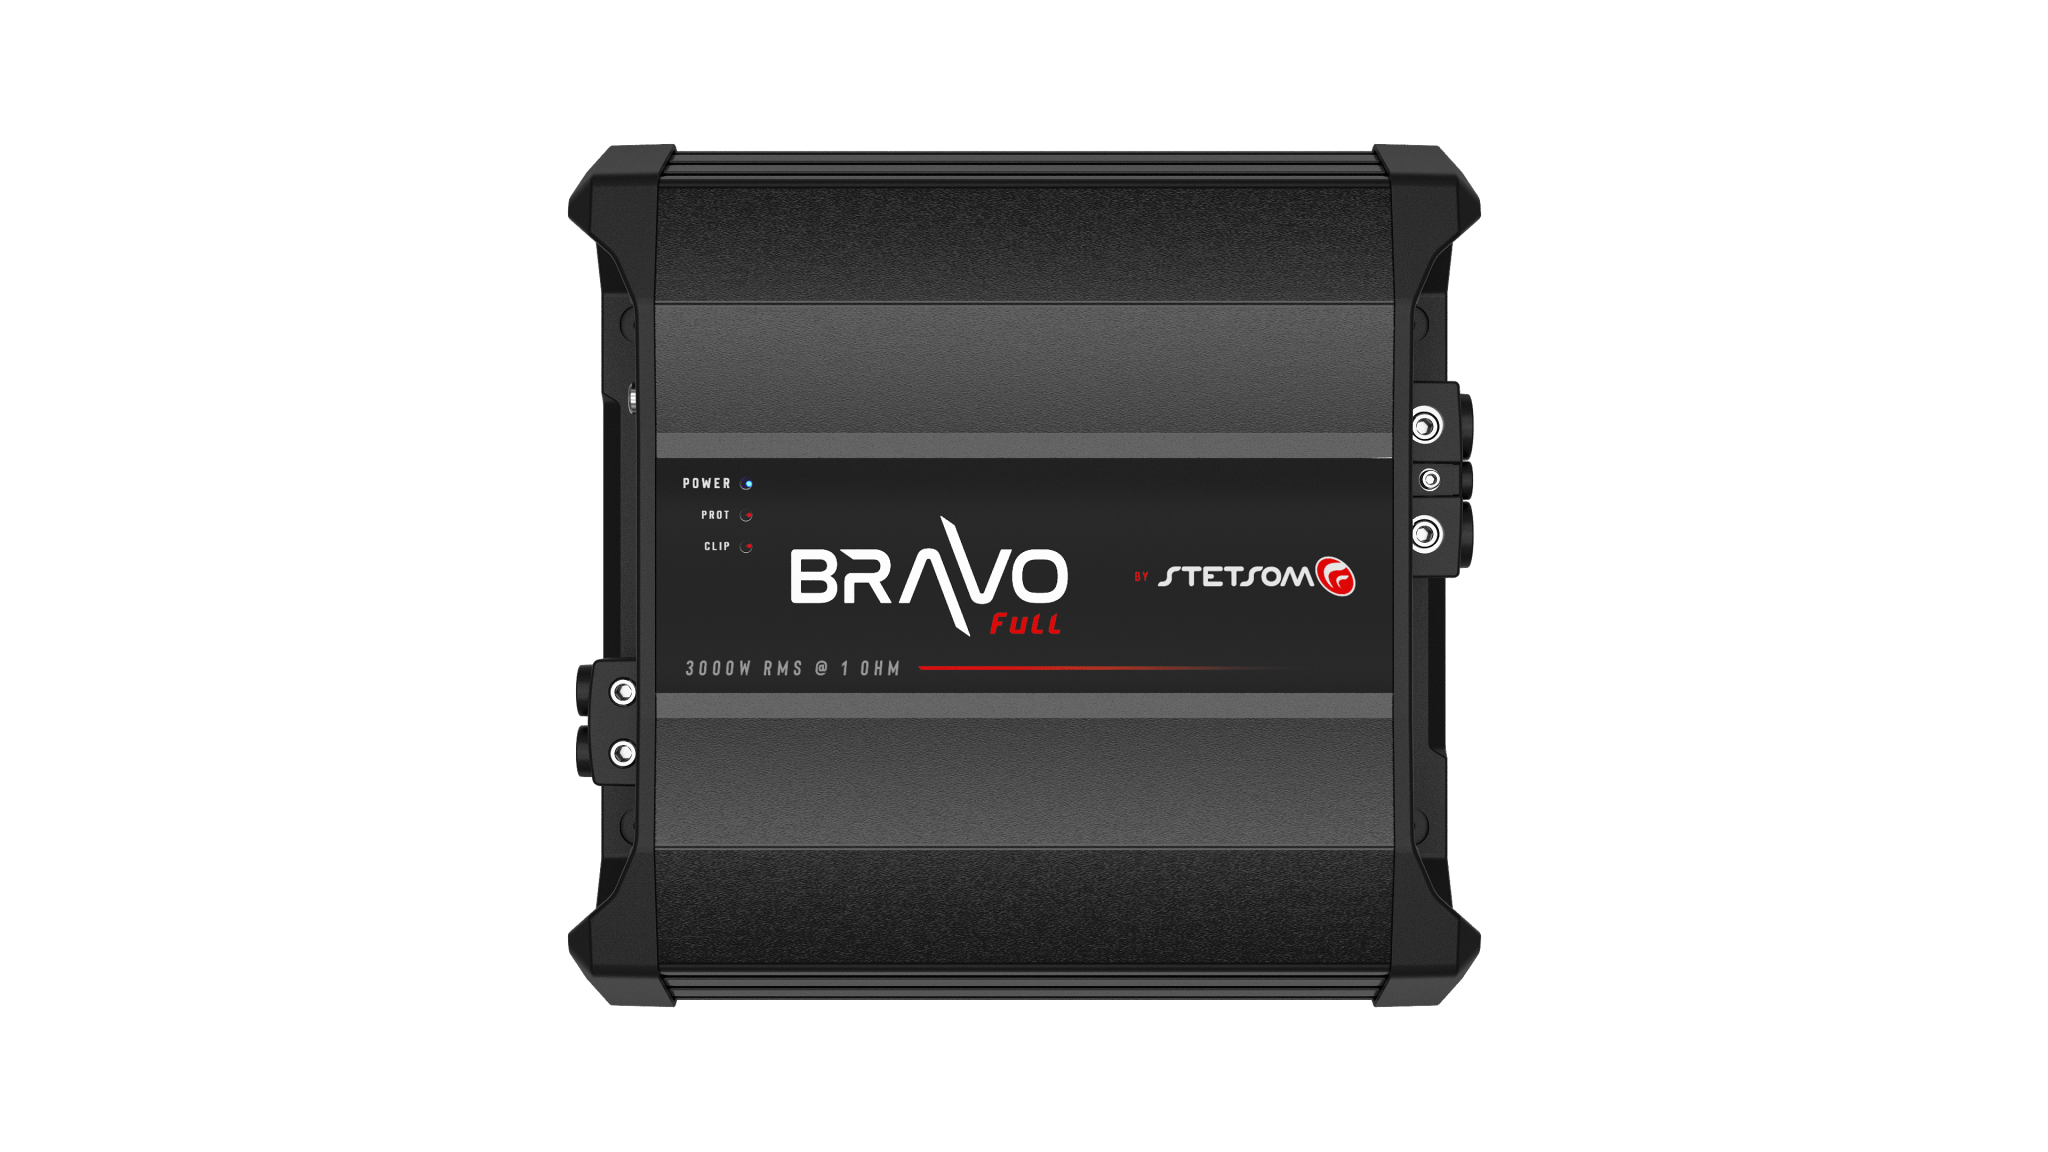
Stetsom BRAVO FULL 3K Digital Full-Range Amplifier Mono One-Channel Class D 3000 W 2 Ohm
Sale price$269.99
Regular price$310.99


Save 13%
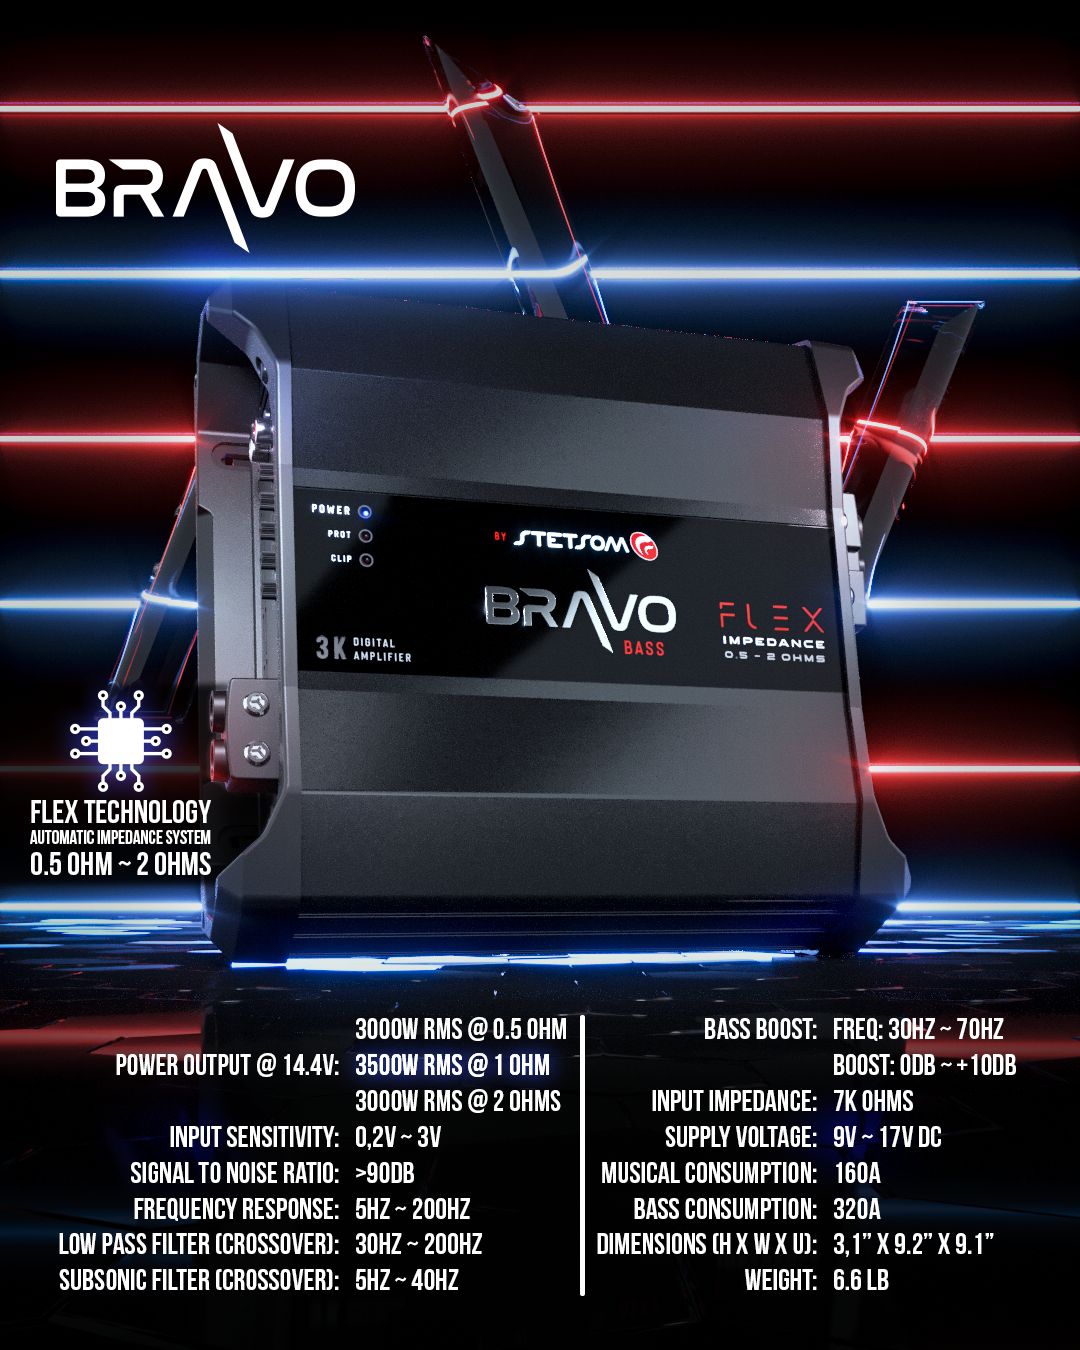
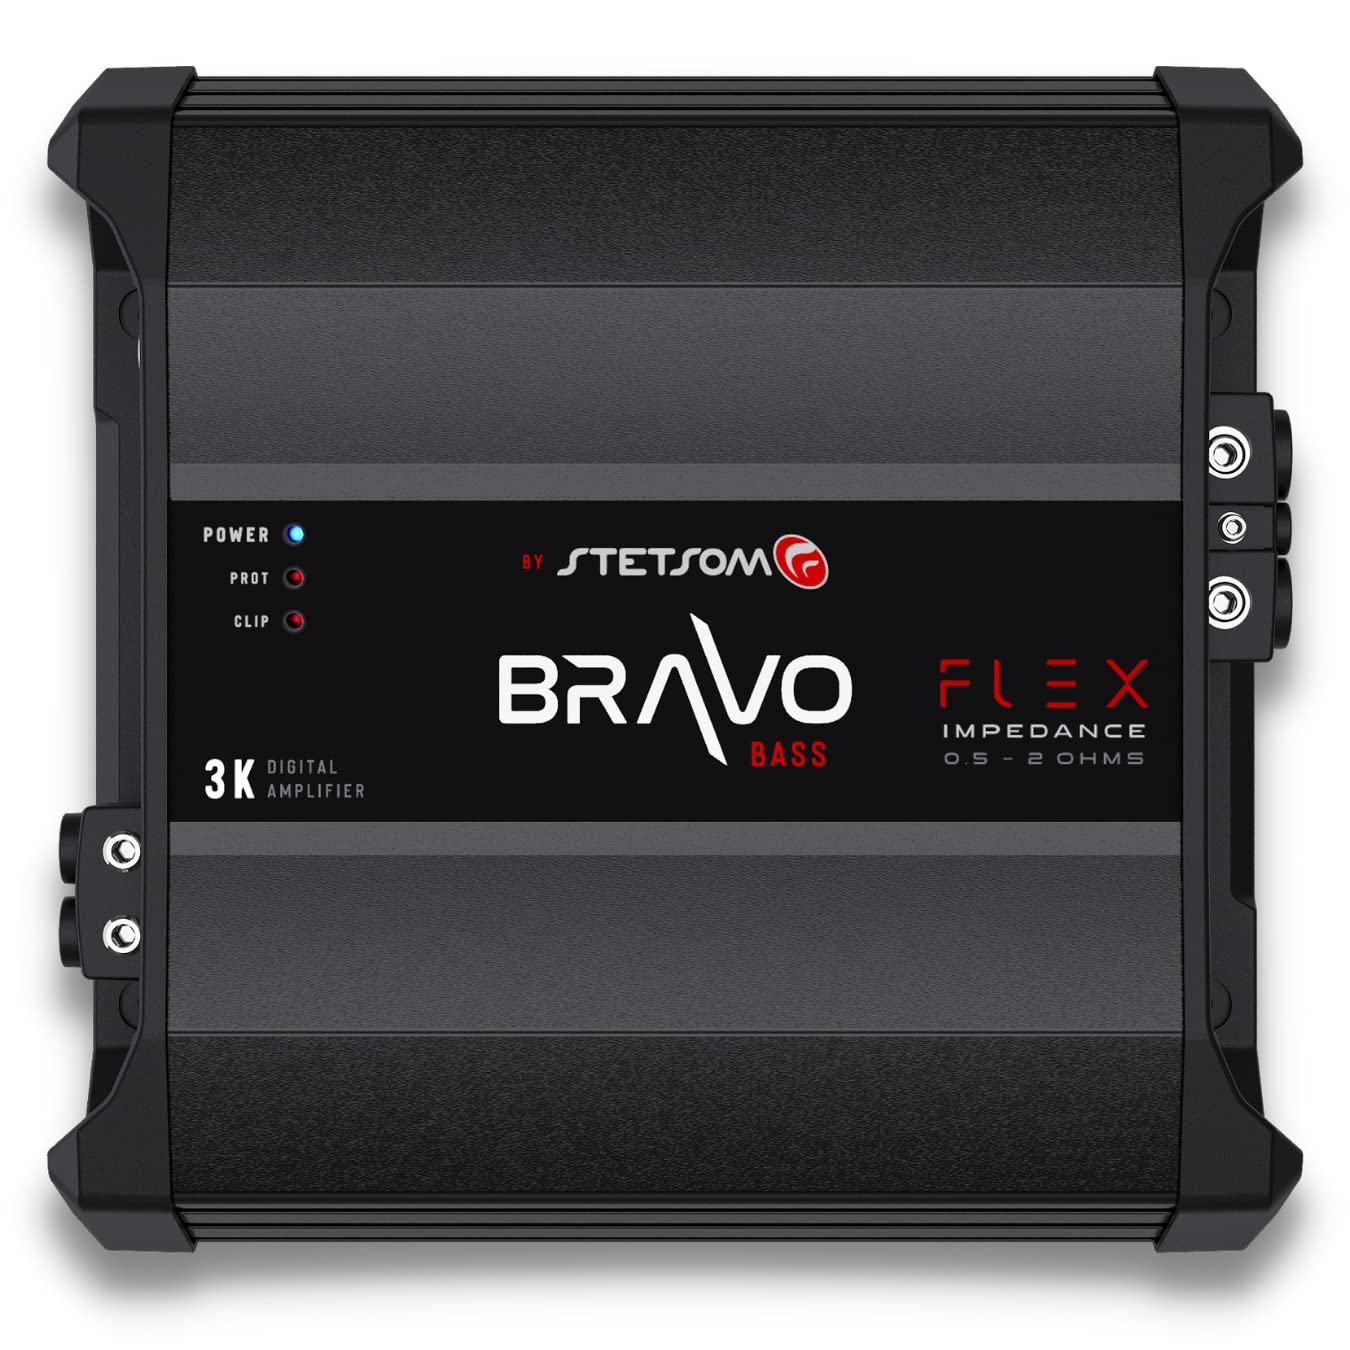
Stetsom BRAVO BASS Flex 3K Mono Class D Amplifier 3000 W Automatic Impedance System 0.5 Ohm to 2 Ohm
Sale price$308.99
Regular price$356.99
Save 14%
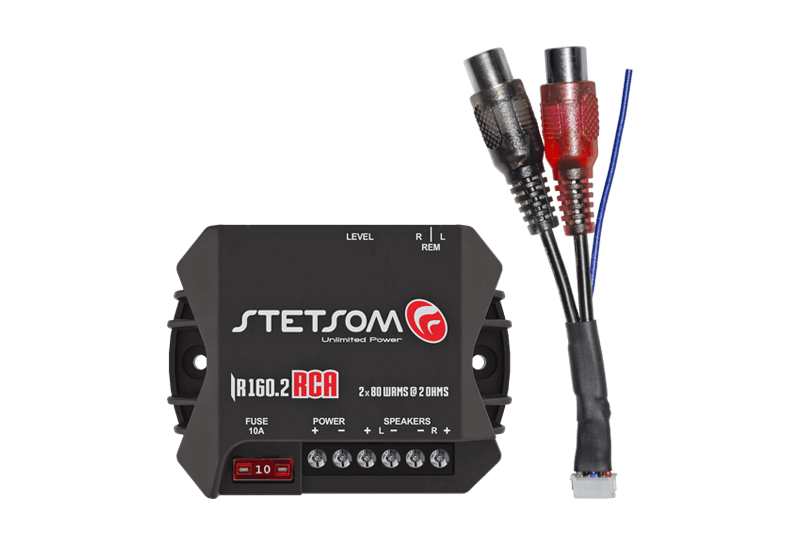
Stetsom Iron Line IR-160.2 RCA Digital Amplifier Two-Channel 2 Ohm
Sale price$63.99
Regular price$73.99


Save 13%
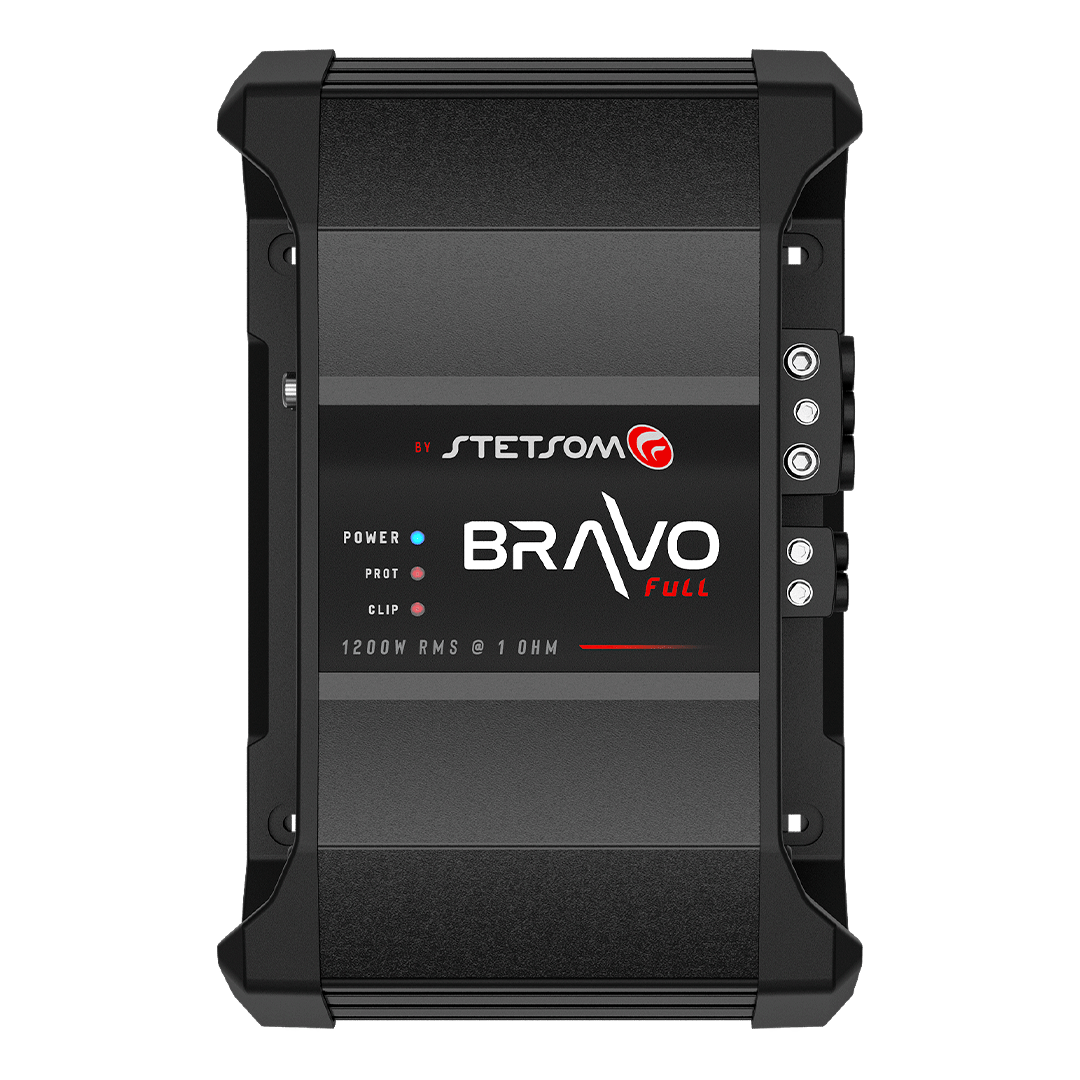

Stetsom BRAVO FULL 1.2k Digital Full-Range Amplifier Mono One-Channel Class D 1200 W 1 Ohm
Sale price$143.99
Regular price$165.99
Save 13%
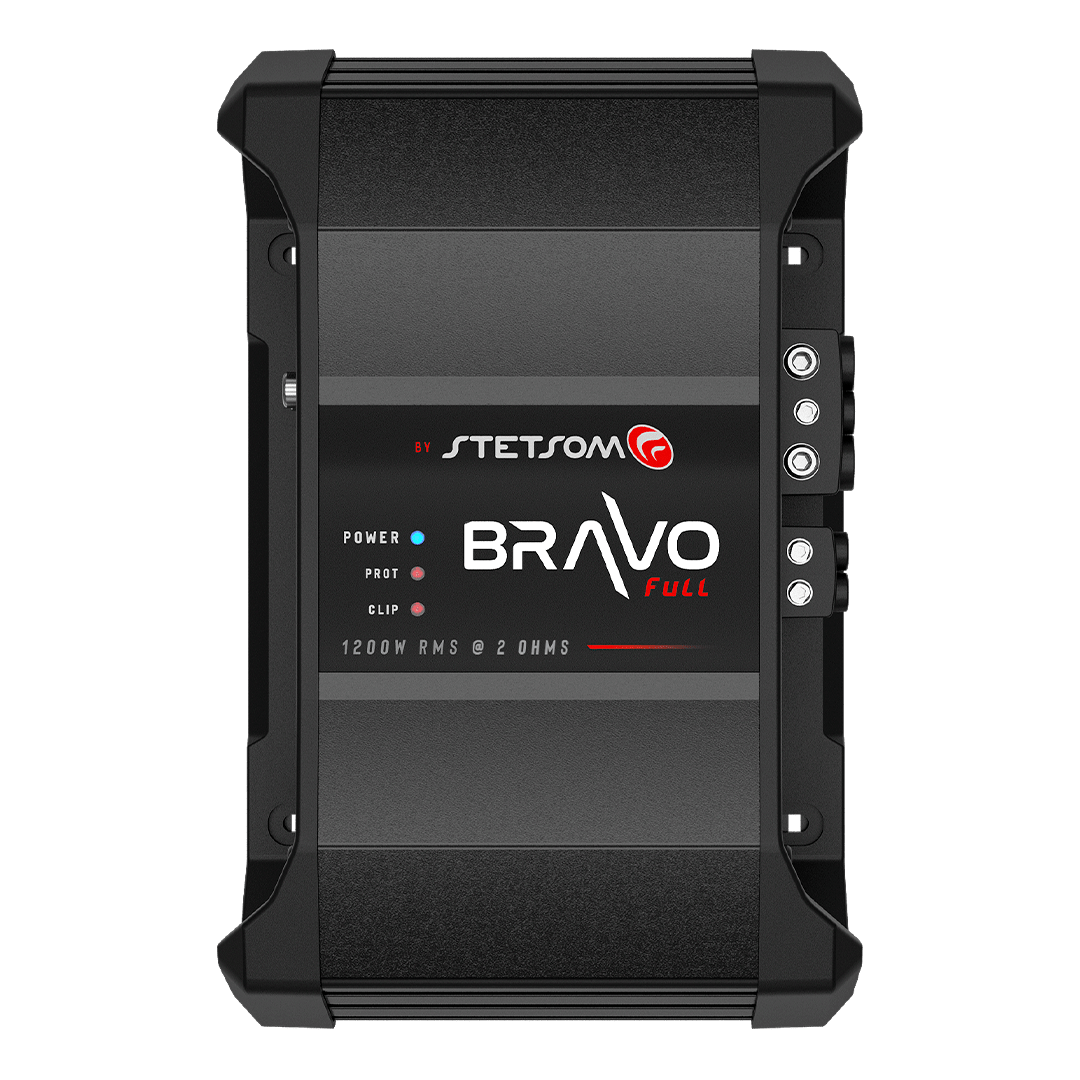

Stetsom BRAVO FULL 1.2k Digital Full-Range Amplifier Mono One-Channel Class D 1200 W 2 Ohm
Sale price$143.99
Regular price$165.99
Save 13%
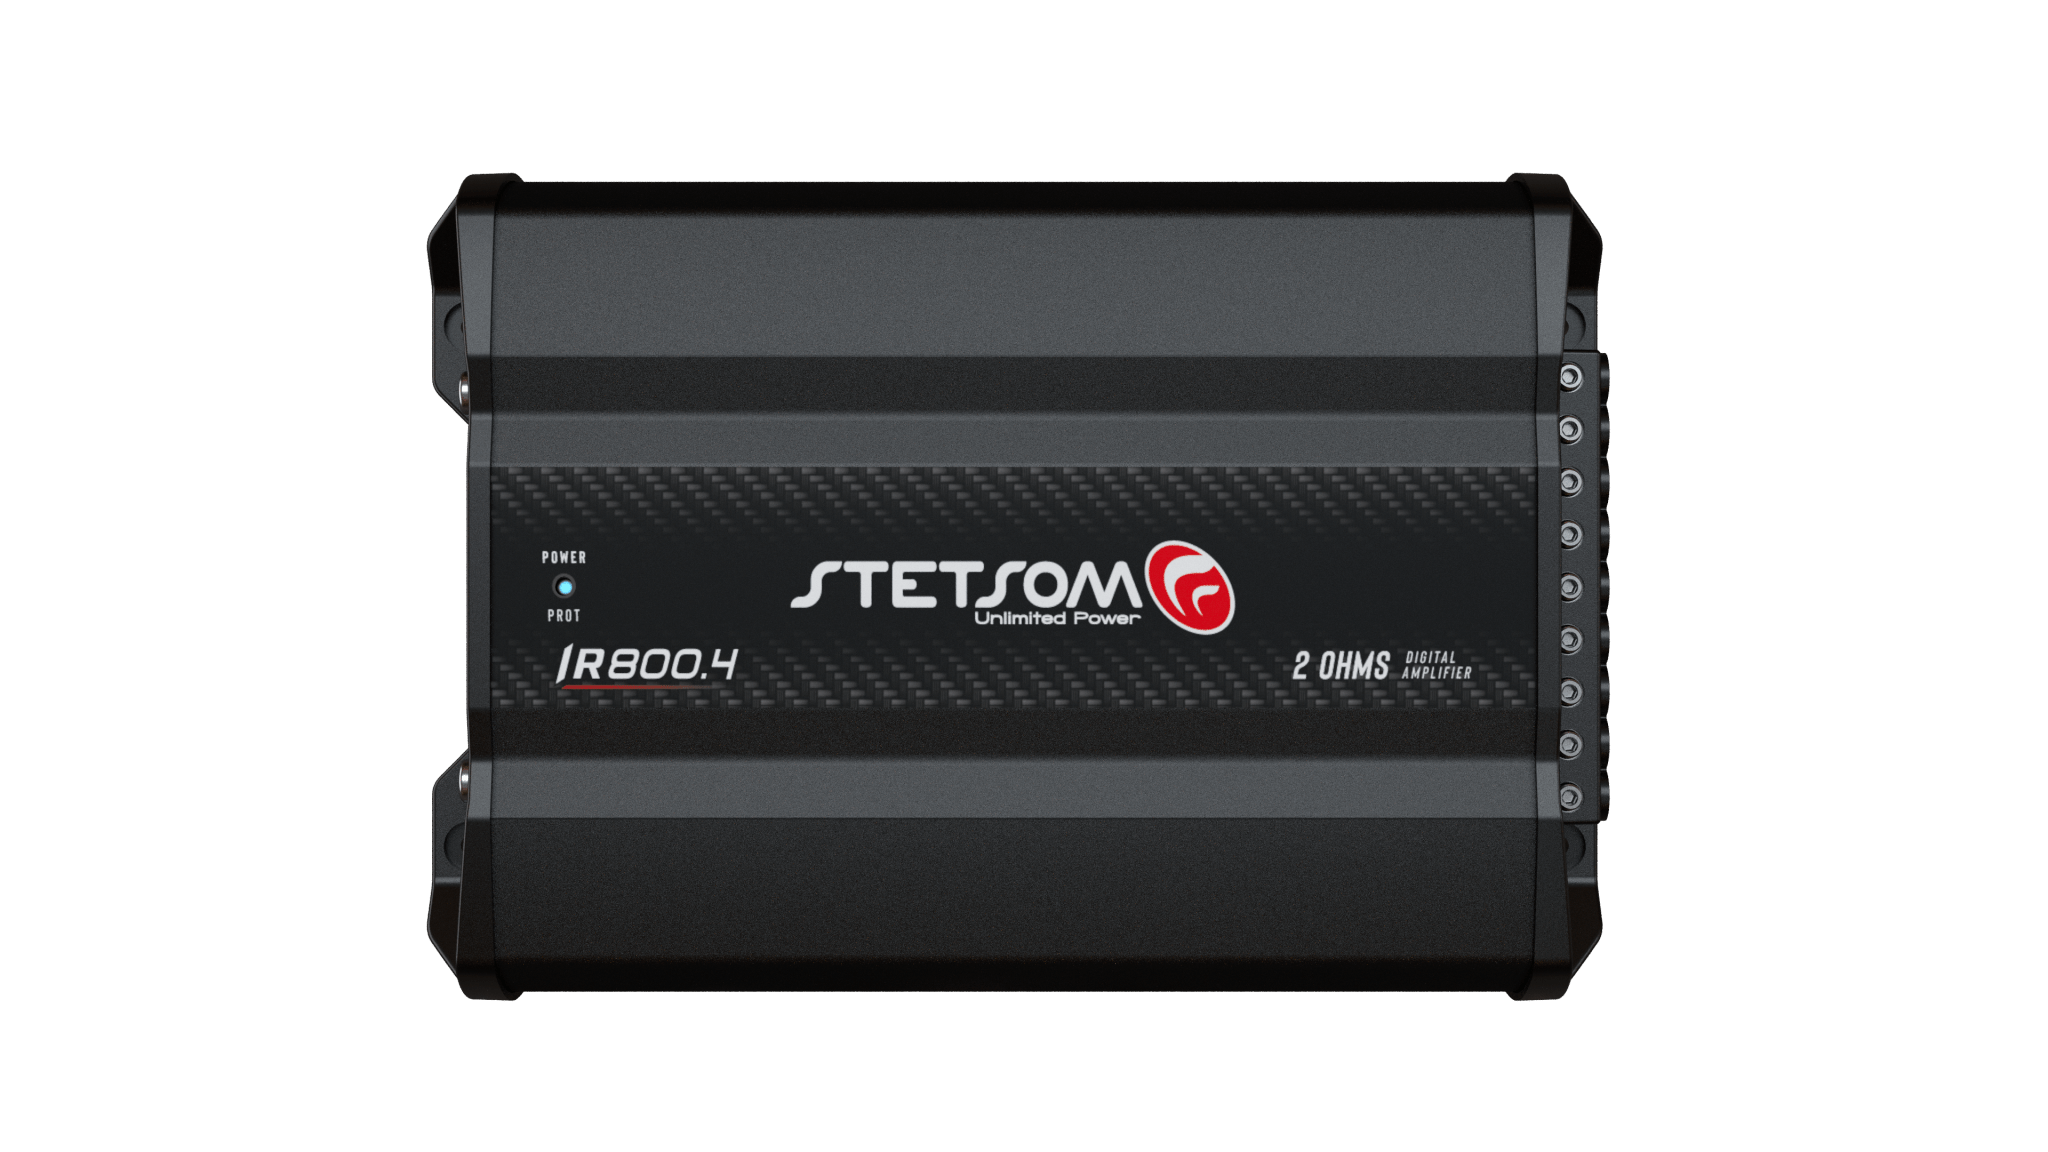
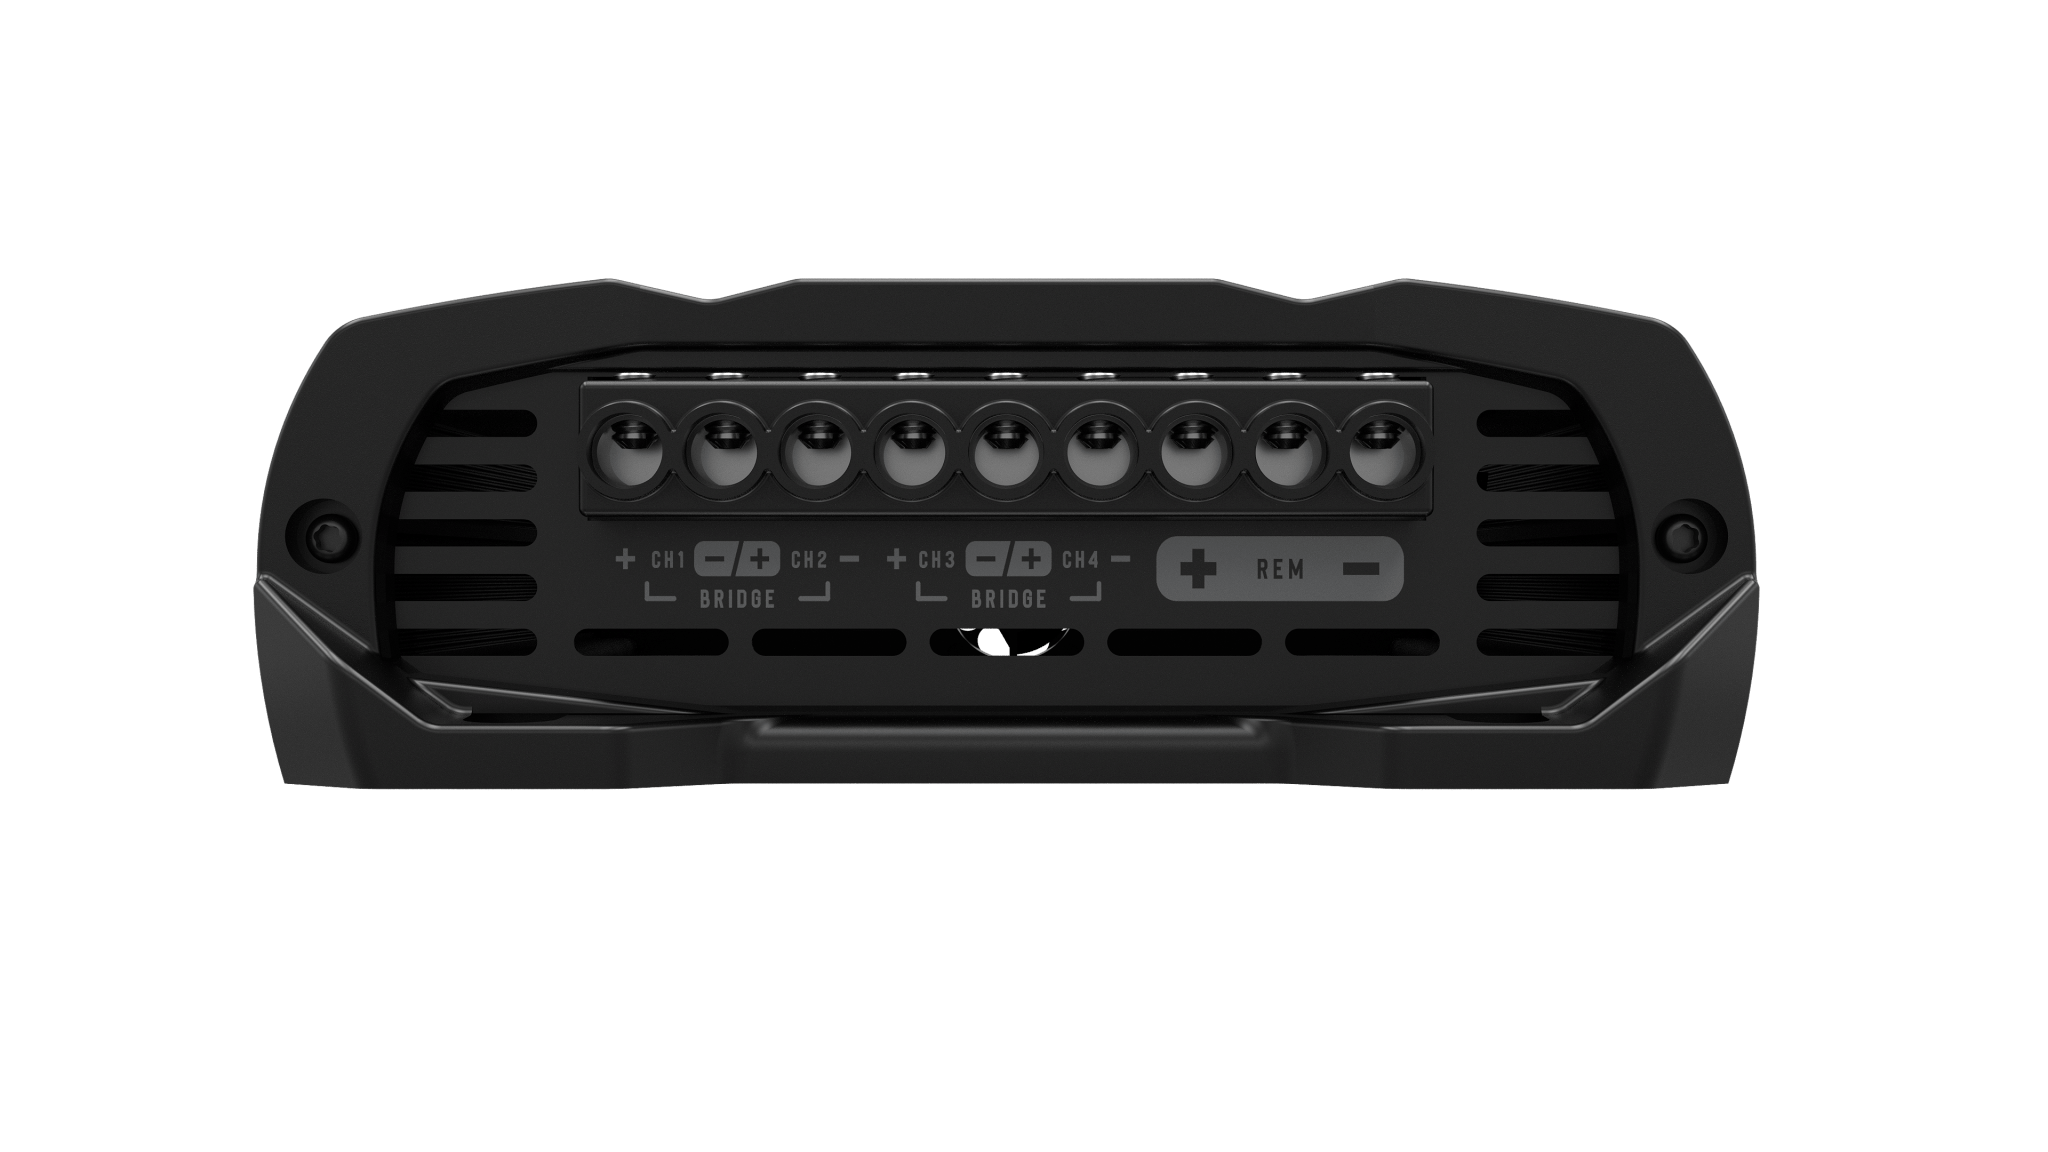
Stetsom Iron Line IR-800.4 Compact Digital Amplifier Four-Channel 800 W Full Range 2 Ohm
Sale price$159.99
Regular price$183.99
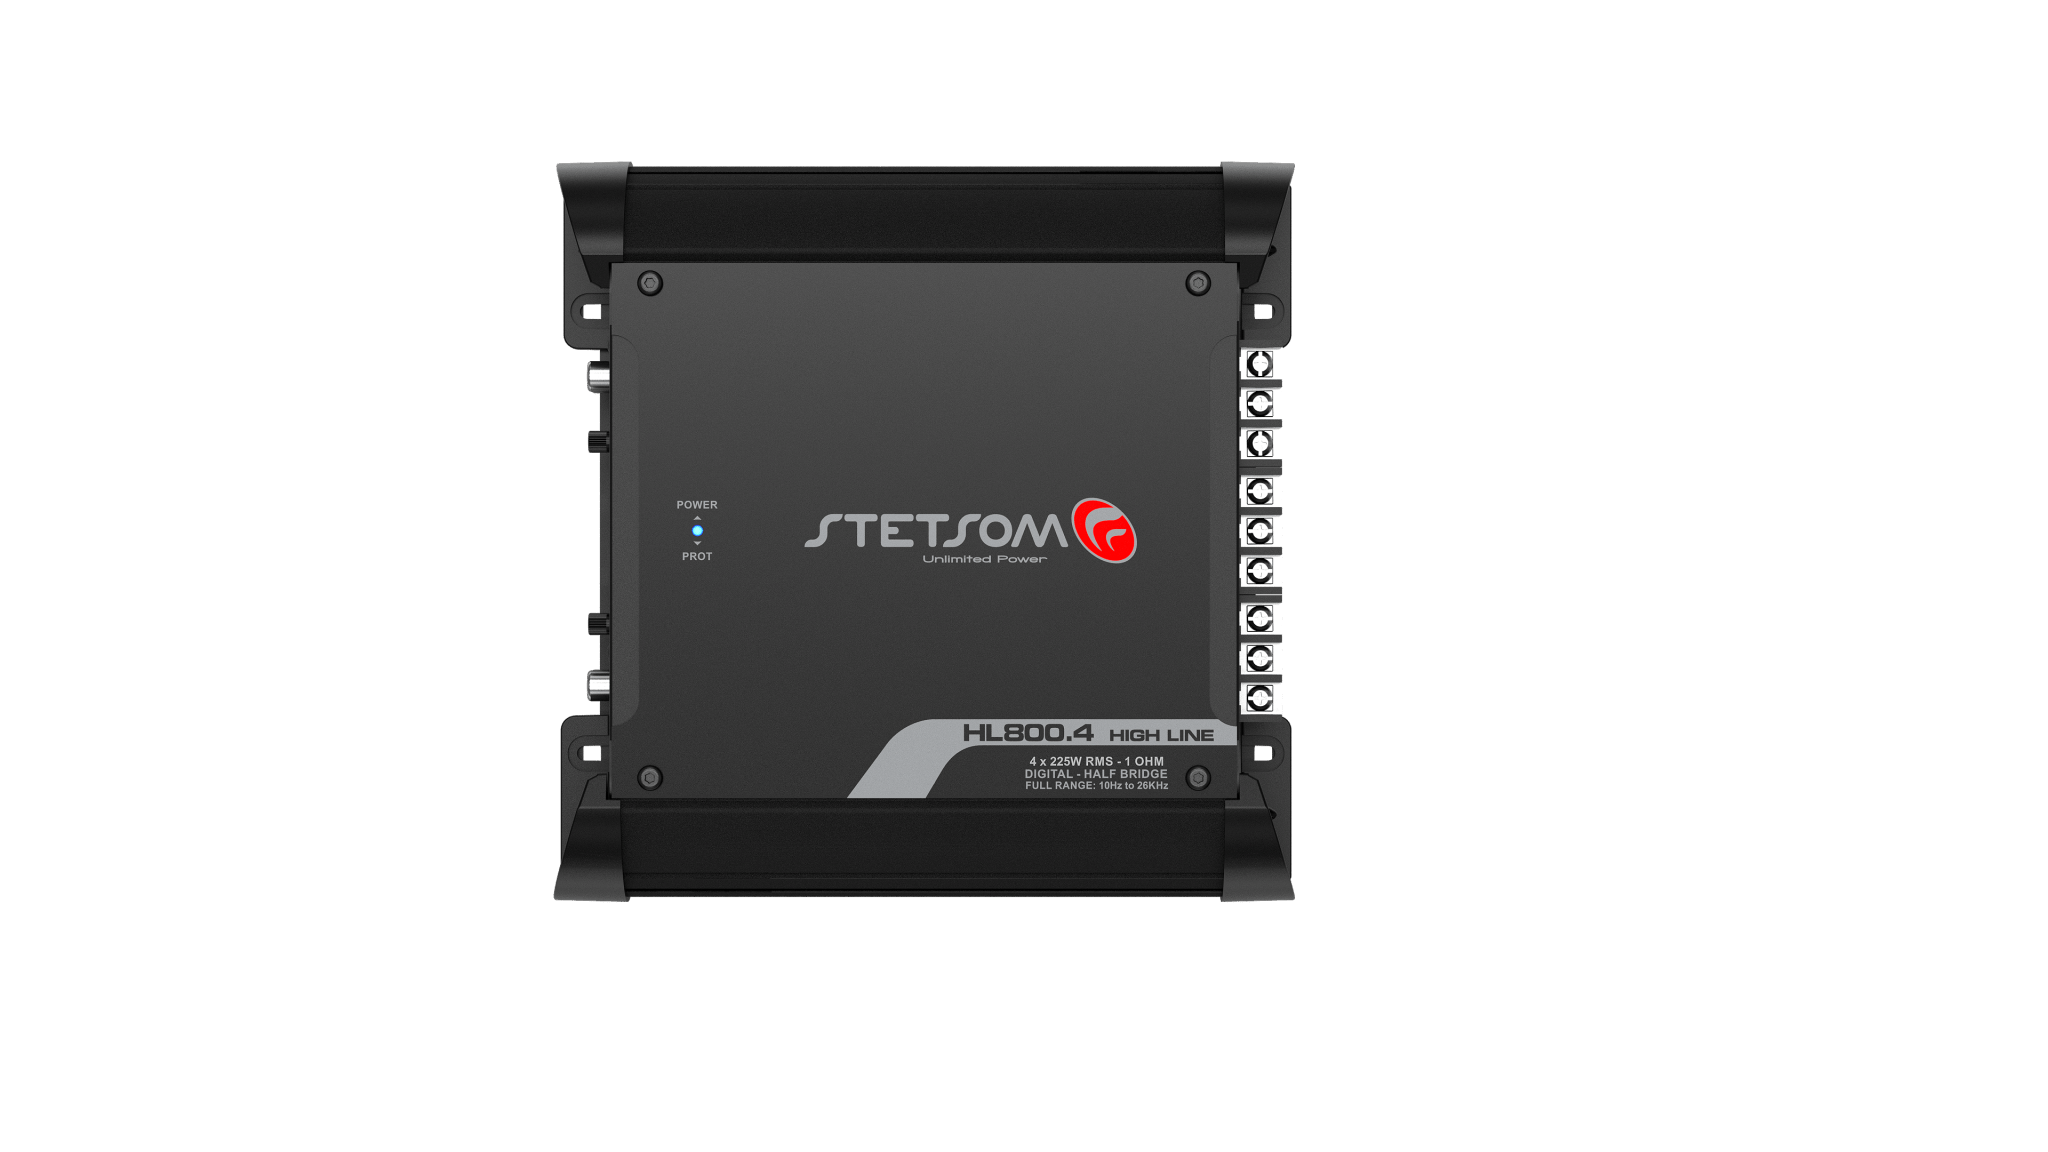
Stetsom High Line HL-800.4 Digital Amplifier 800W Class D Full-Range Four-Channel 1 Ohm
Sale price$183.99
Sold outSave 13%
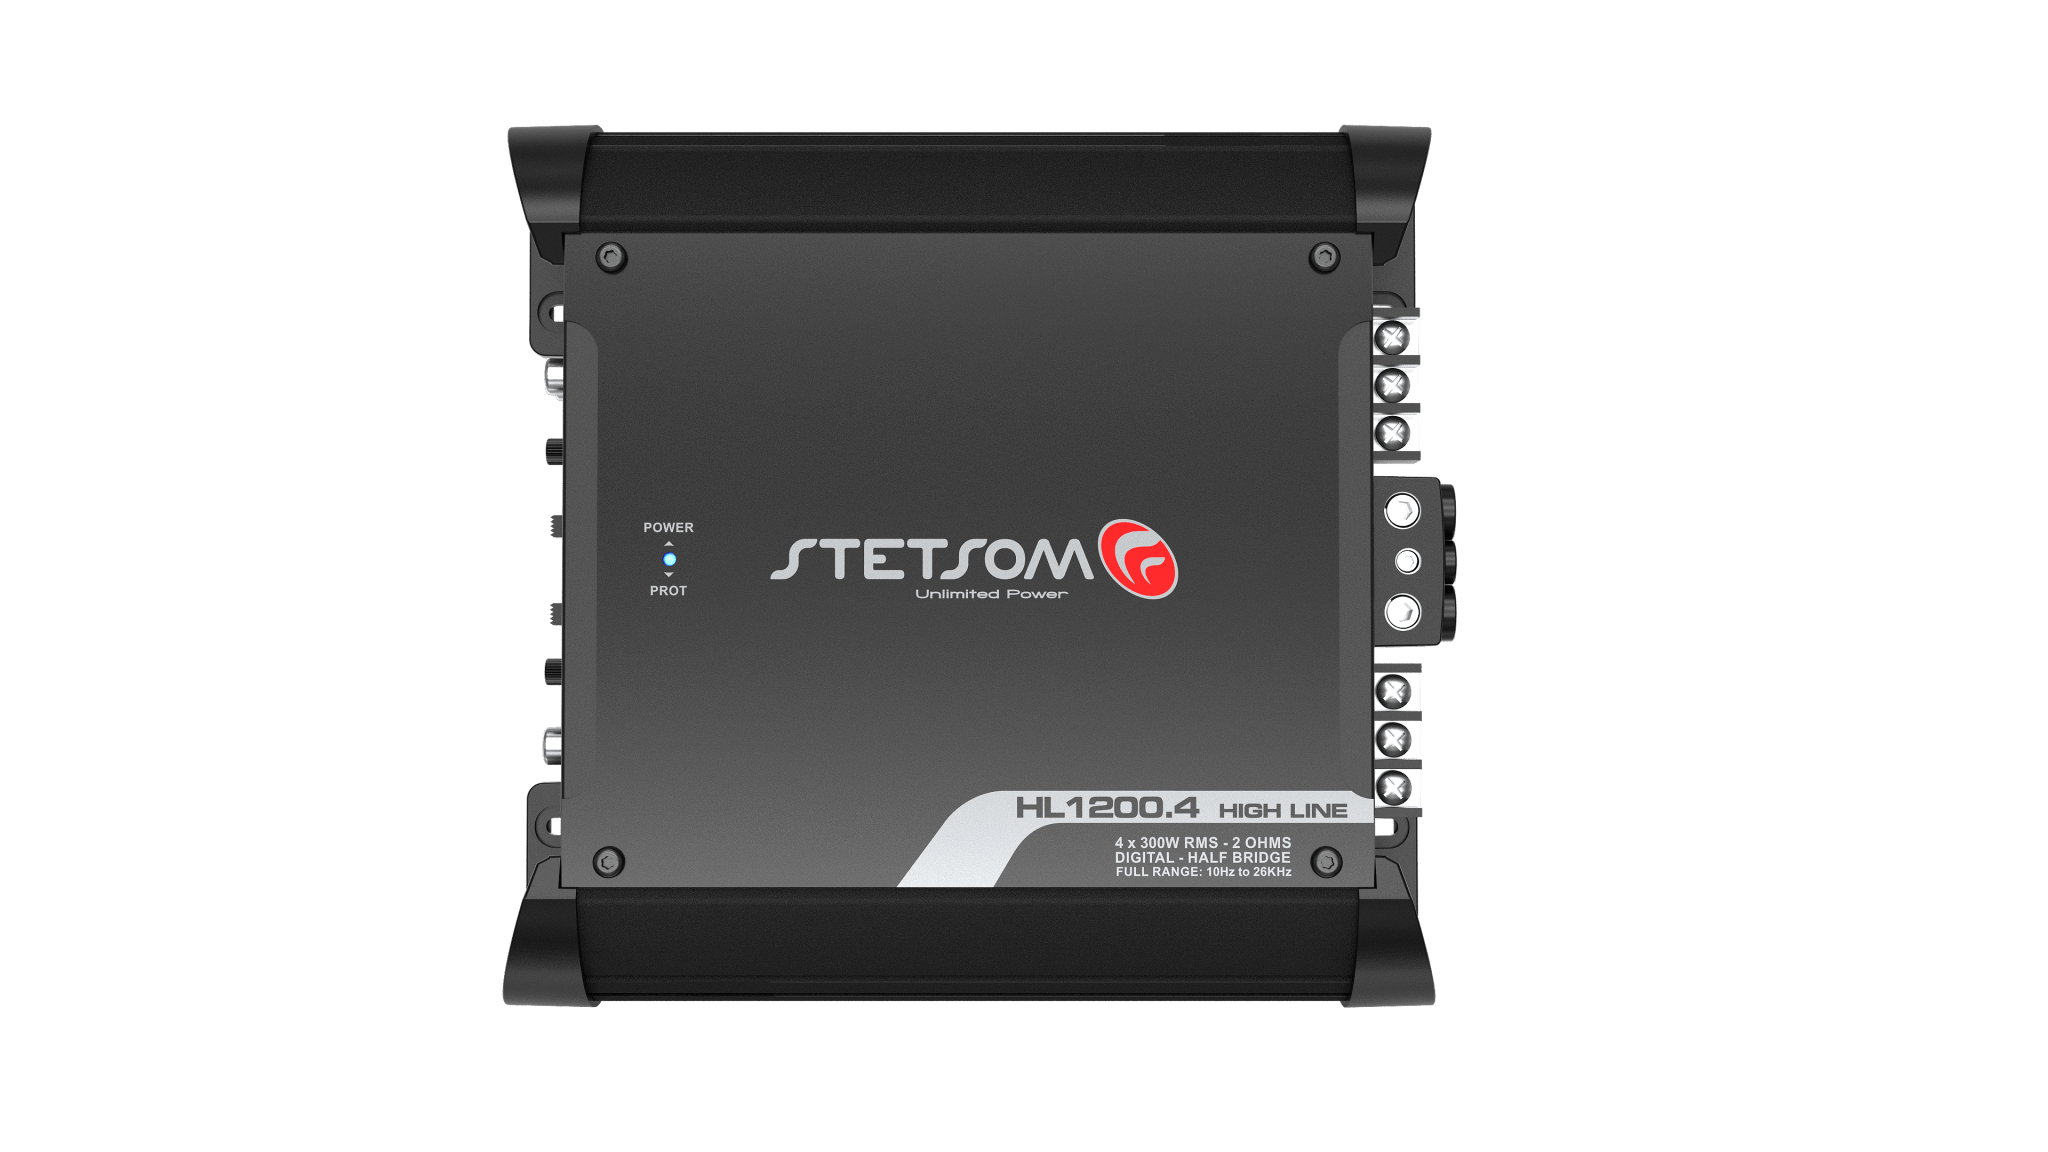
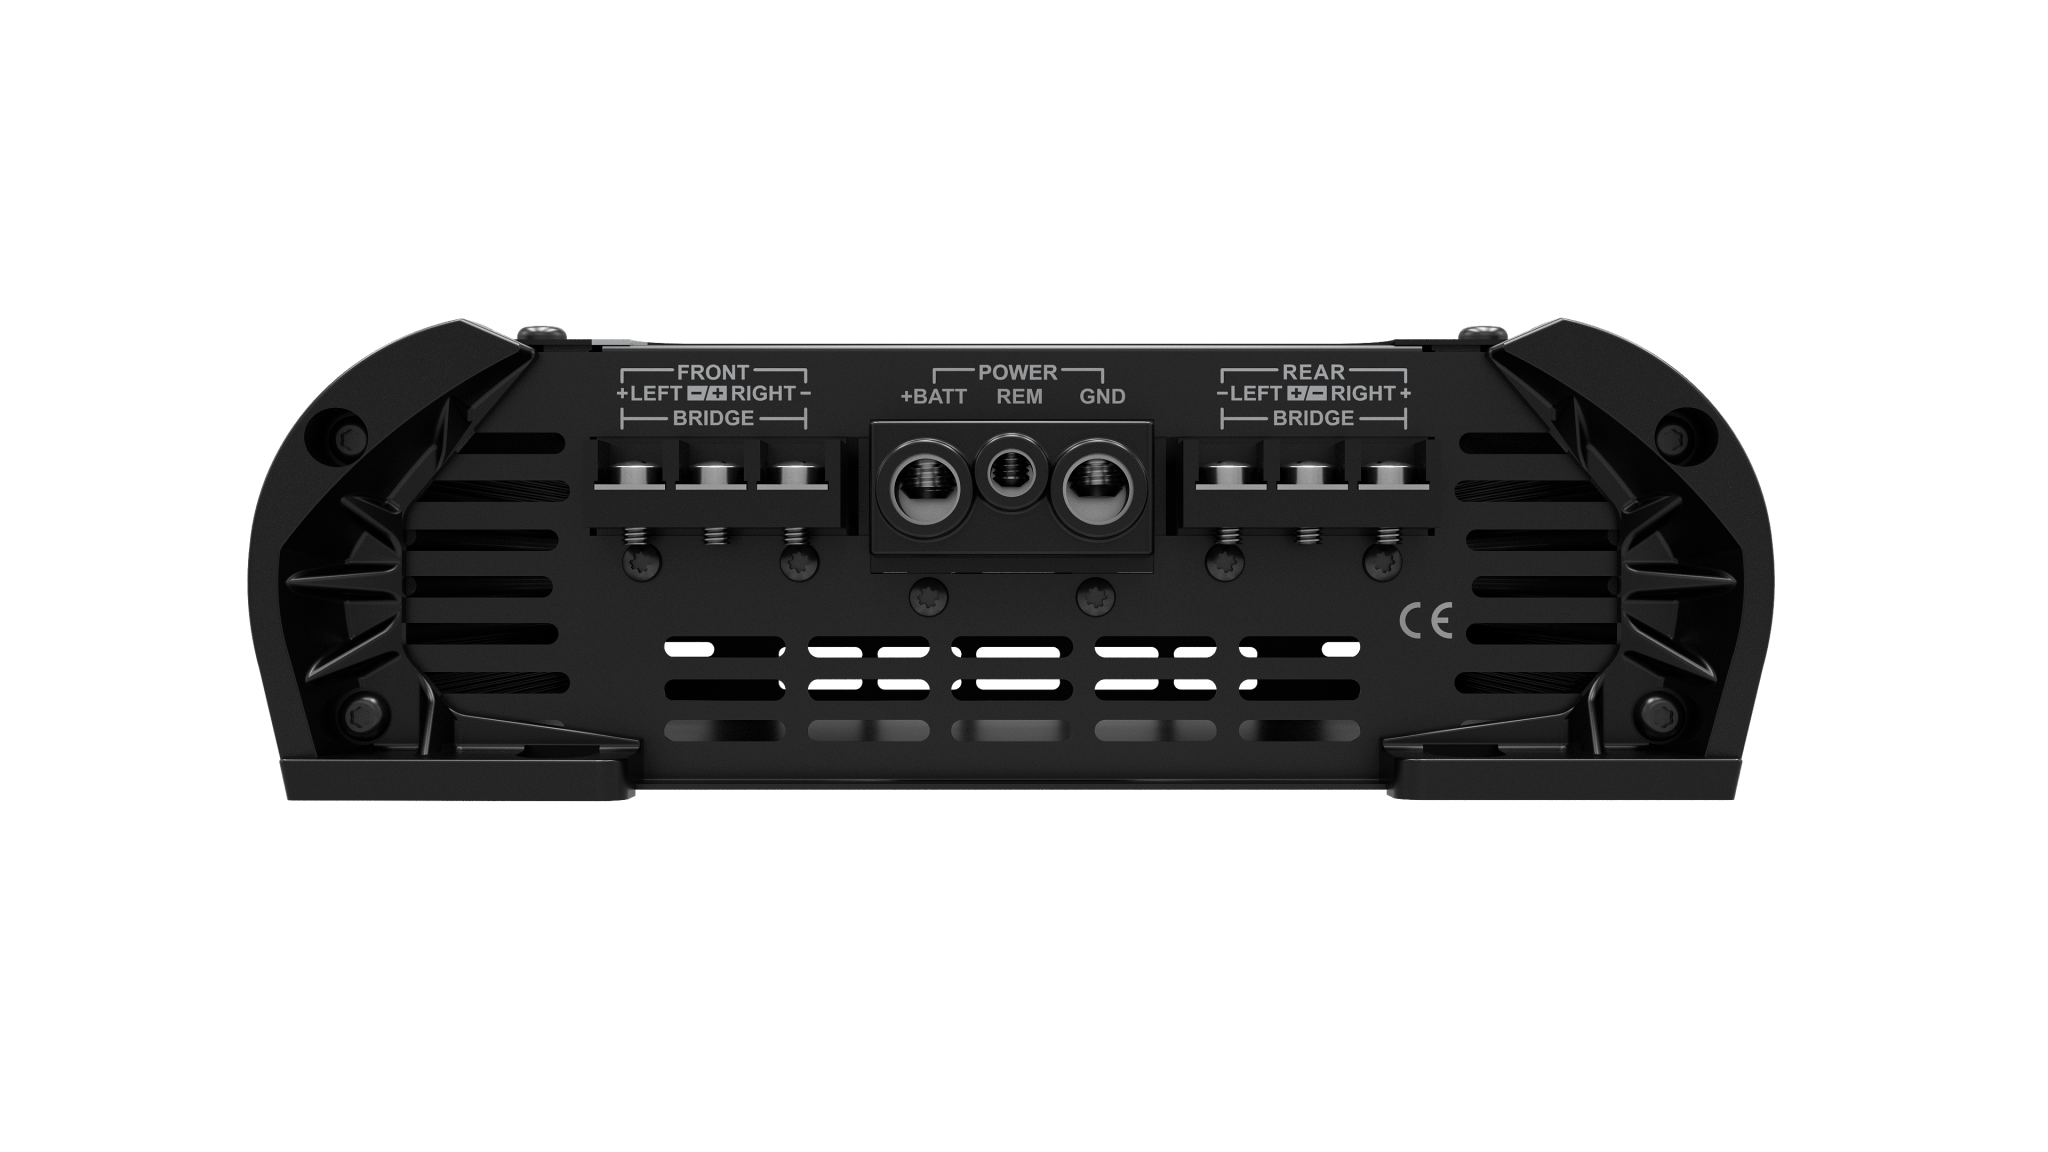
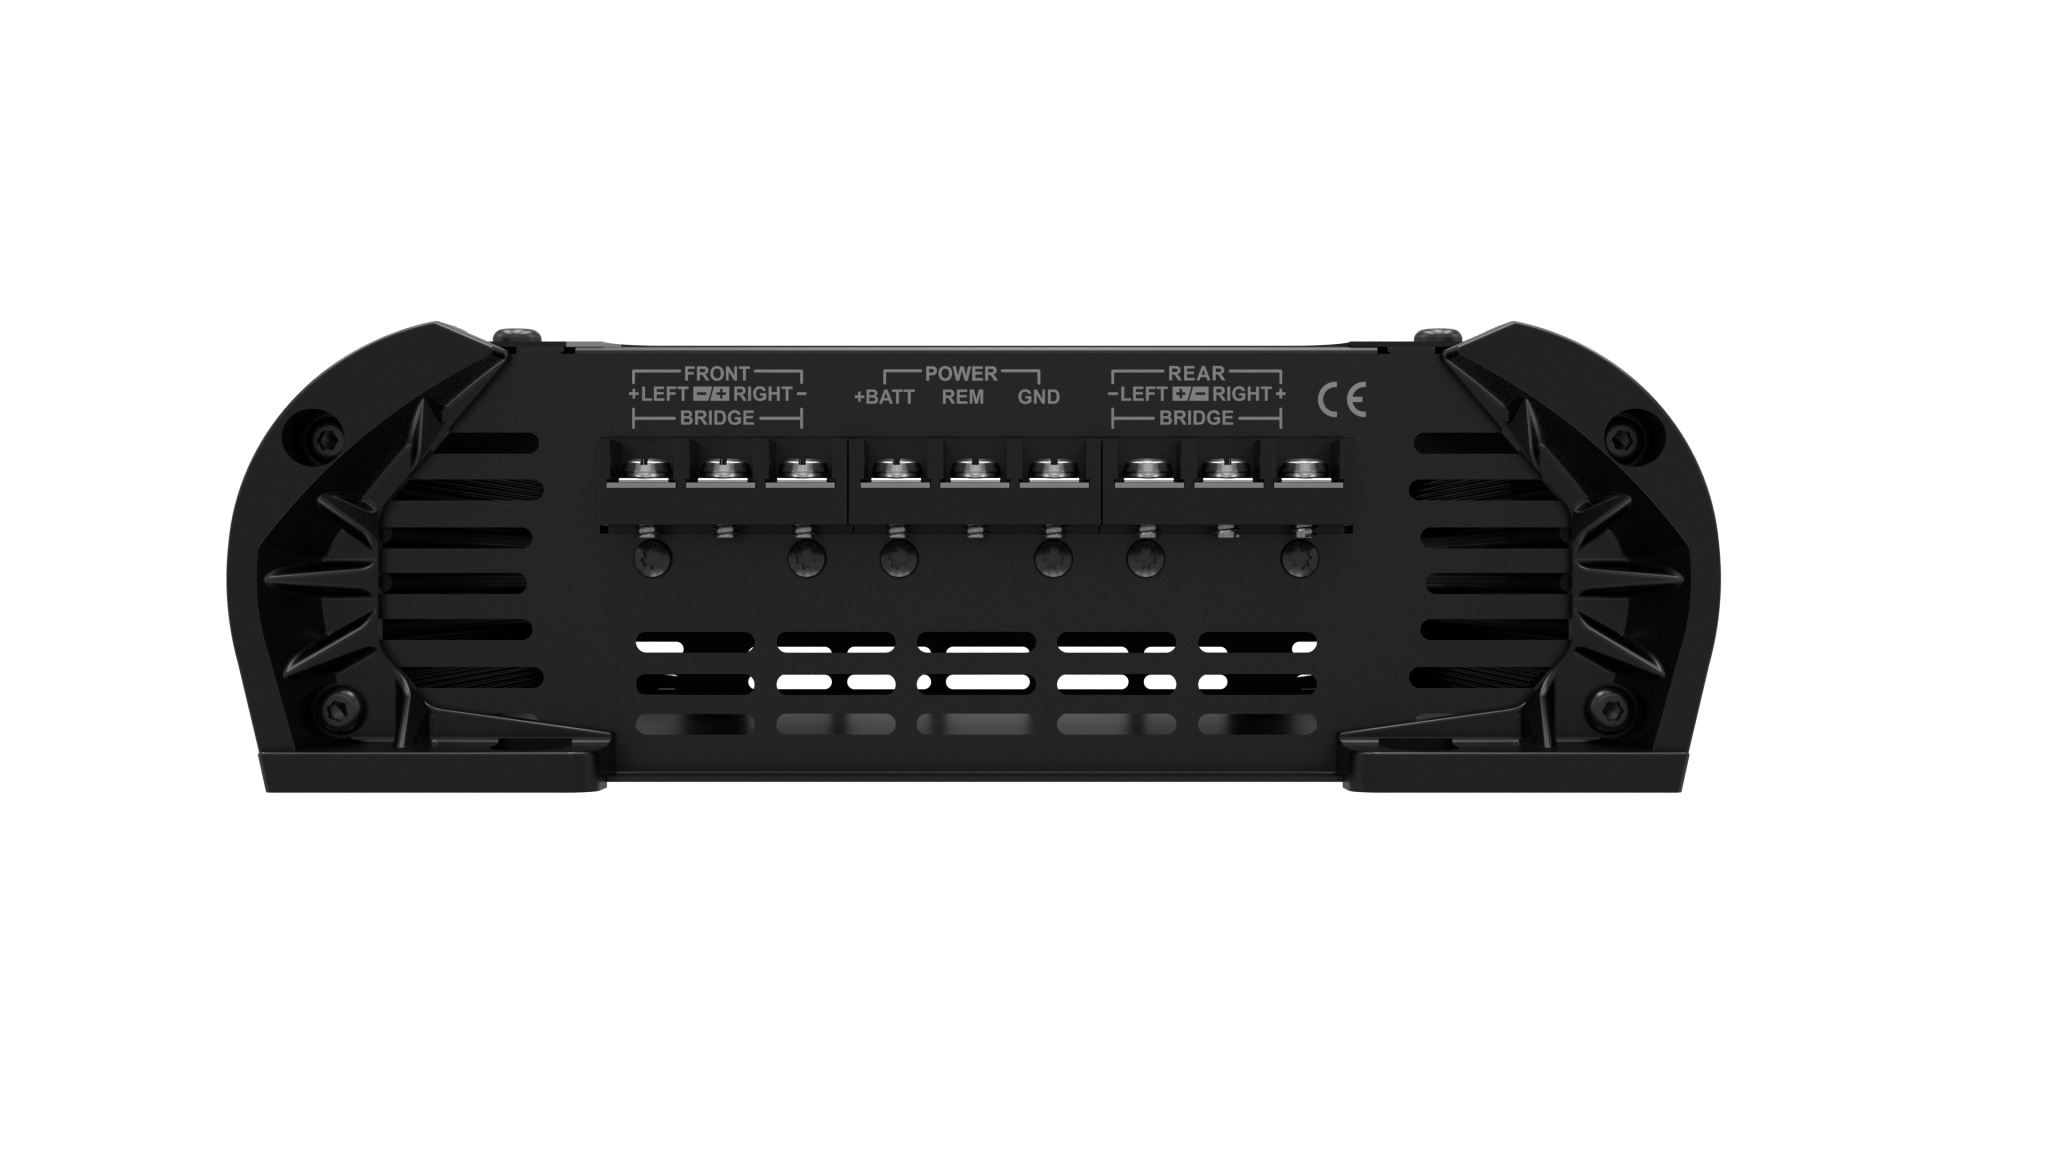
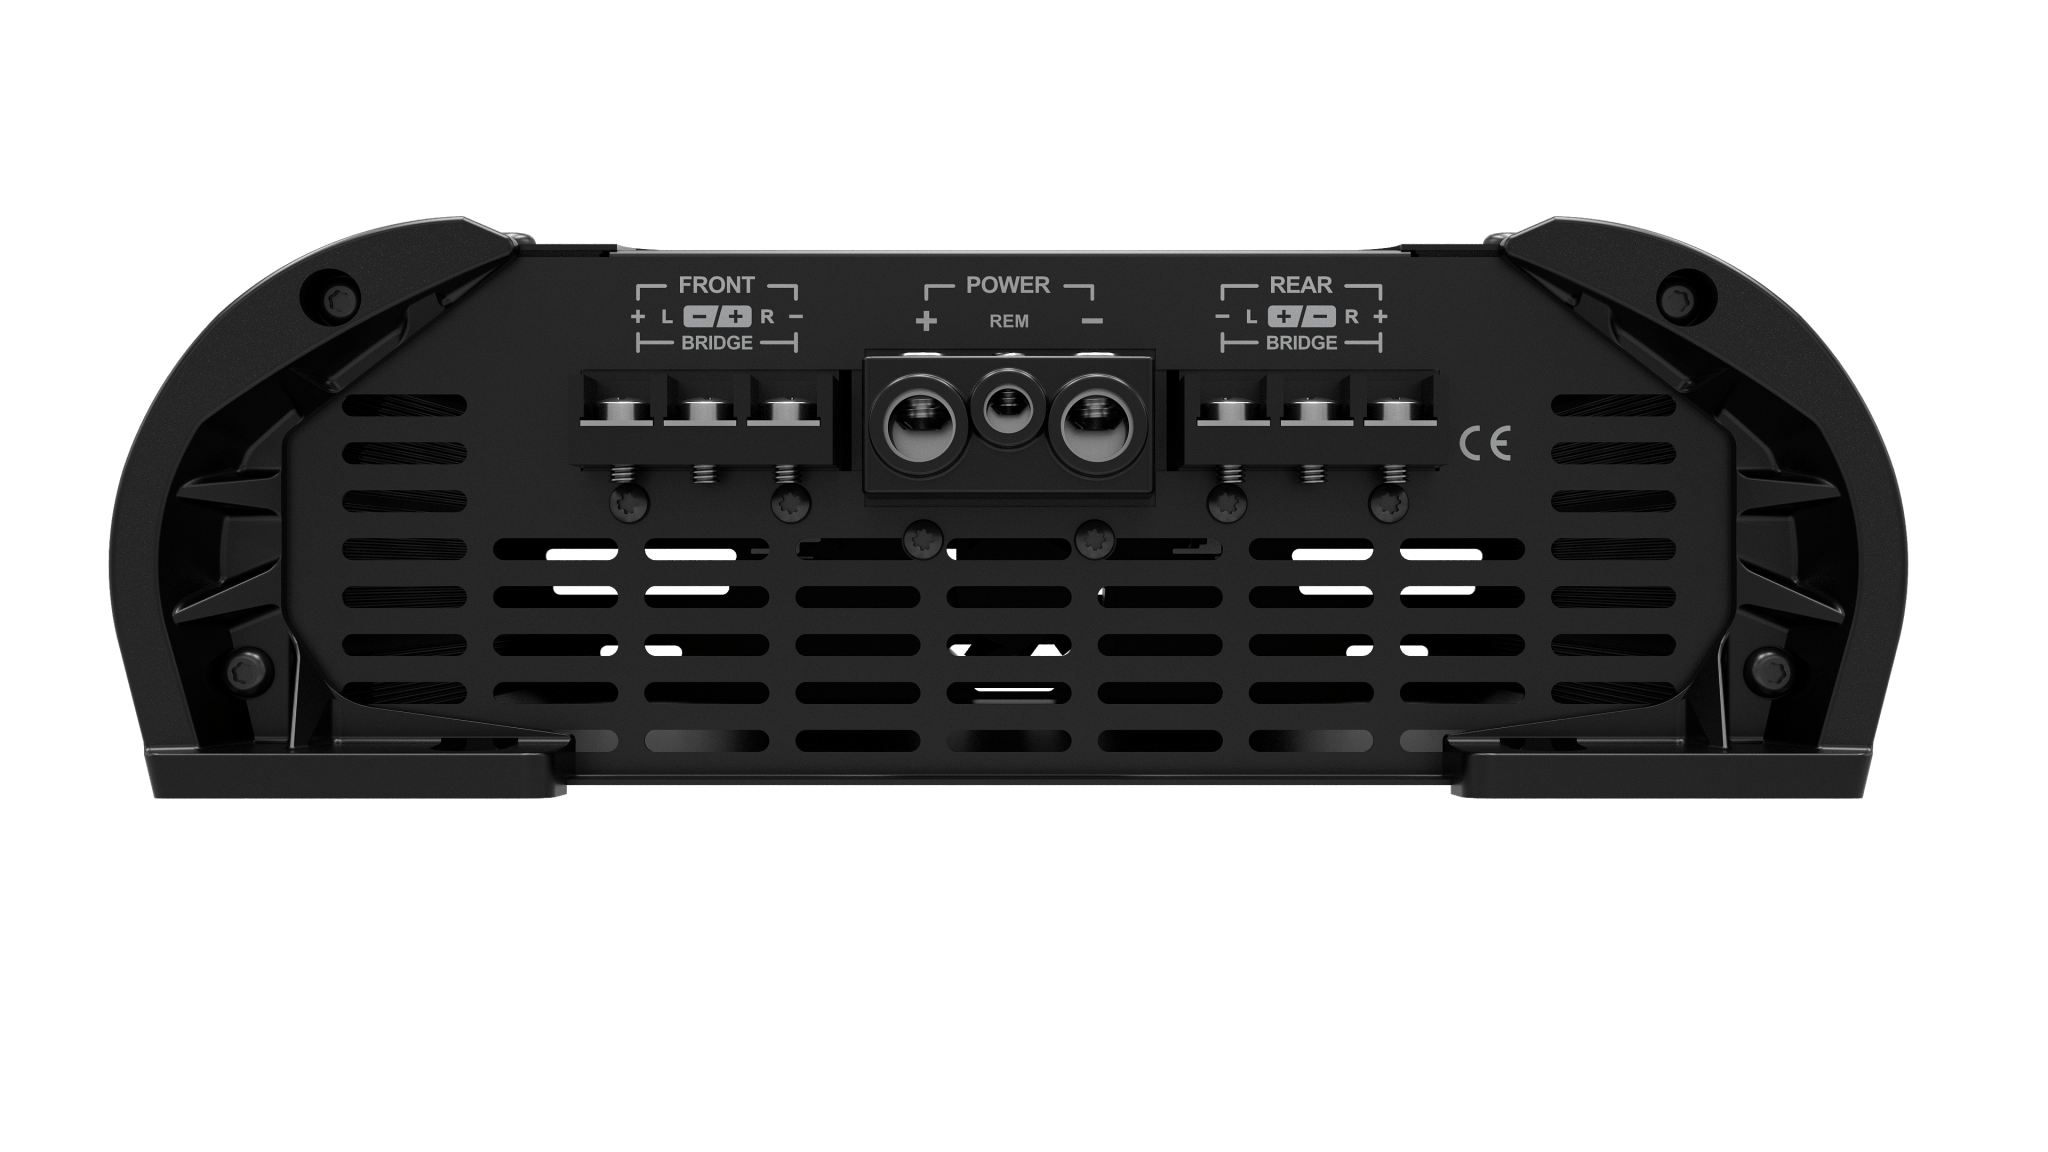
Stetsom High Line HL-1200.4 Digital Amplifier 1200W Class D Full-Range Four-Channel 2 Ohm
Sale price$239.99
Regular price$274.99
Save 13%

Stetsom High Line HL-2000.4 Digital Amplifier 2000W Class D Full-Range Four-Channel 1 Ohm
Sale price$298.99
Regular price$343.99